This post may contain affiliate links. Please read our disclosure policy.
If you want to learn how to make risotto, you’re going to love this tutorial where I break it down and share my tips for making the best risotto even if it’s your first time. This technical recipe is easy to learn with this step-by-step guide to cooking a classic creamy risotto in 30 minutes. Just follow a few simple steps to make this easy risotto recipe, and you’ll have a gorgeous velvety rice dish with cheesy, herby flavors.
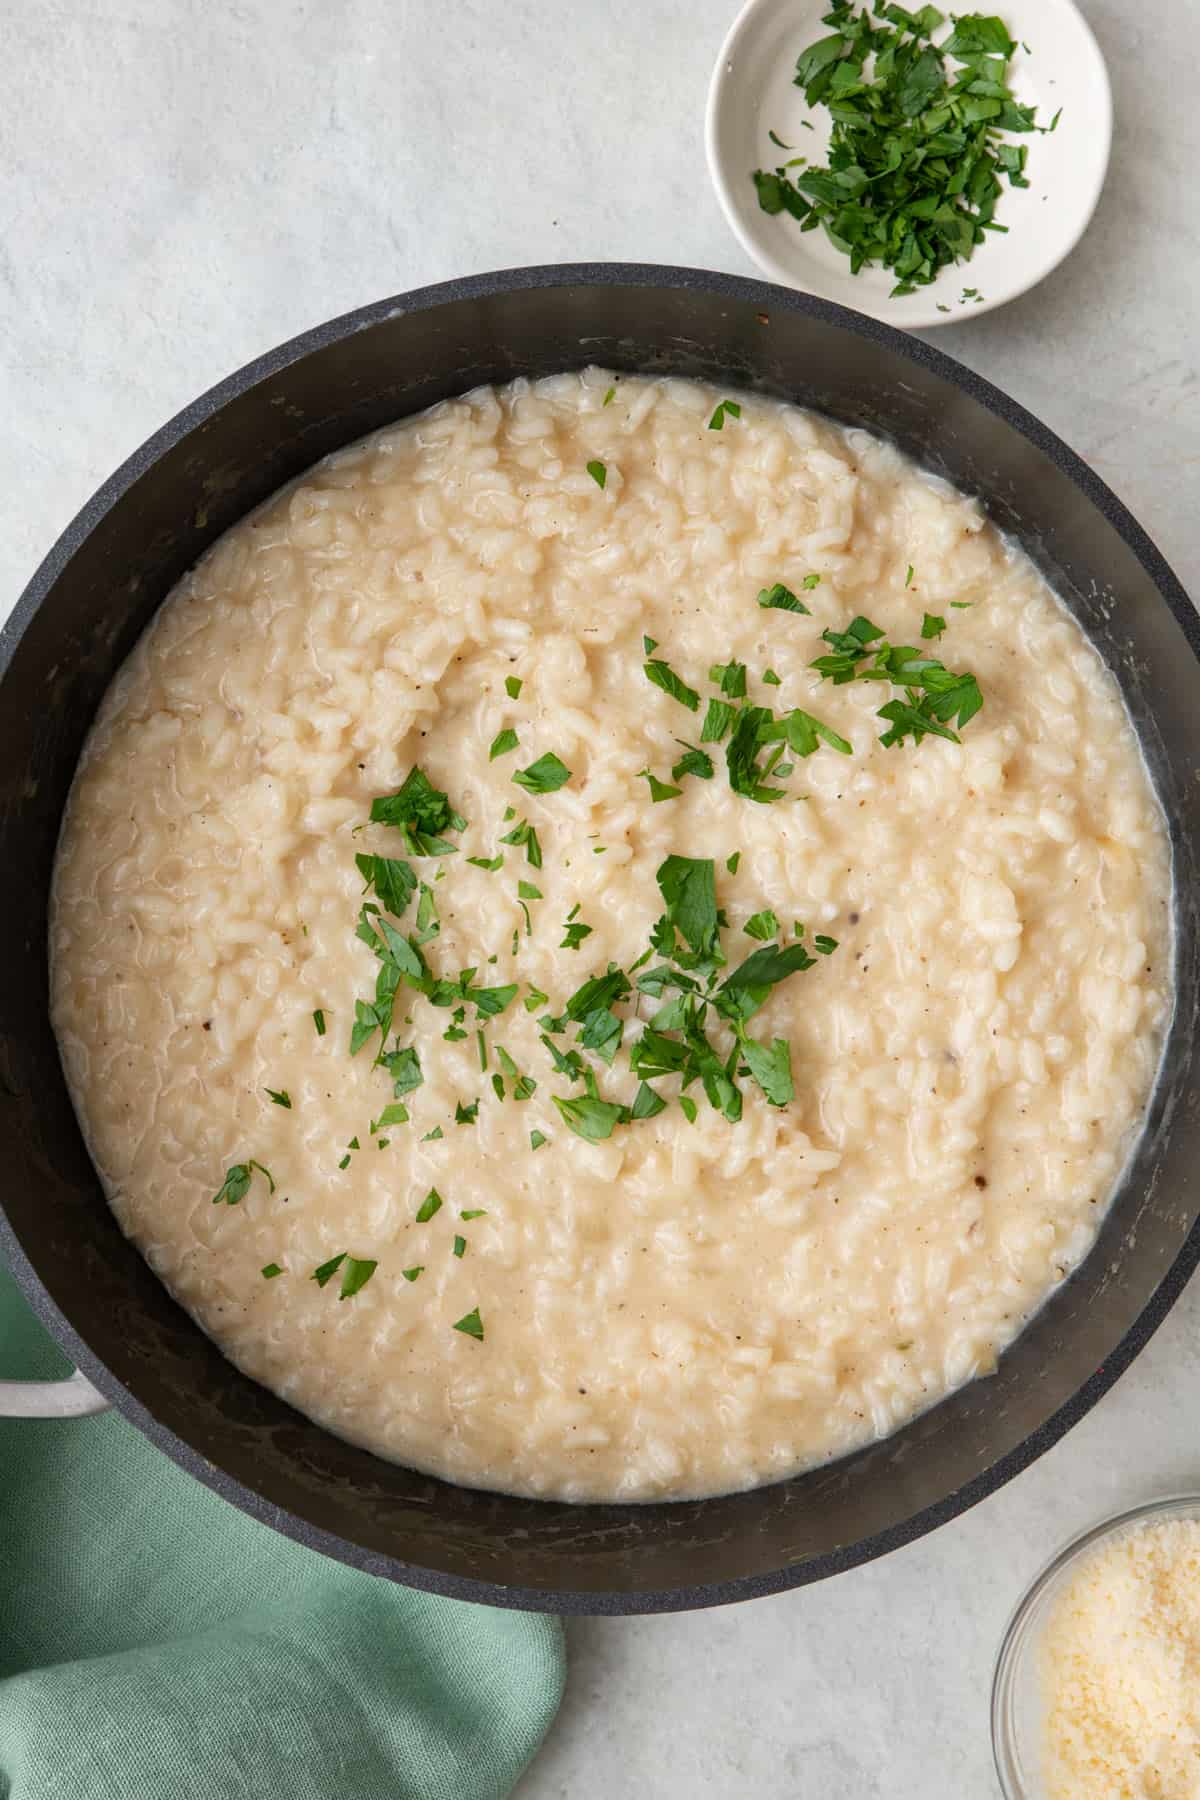
One thing you probably don’t want to do is stand over a stove for 45 minutes stirring rice. This recipe gives you that signature wholesome creaminess infused with herbs, garlic, and parmesan cheese for the best rice side dish that’s ready in under 30 minutes! You’ll be surprised with how delicious, creamy and rich the risotto comes out, just like restaurant-quality.
What is Risotto?
Risotto is a classic northern Italian dish with a unique method for cooking starchy rice, such as arborio, until slightly thickened and creamy. This process for cooking rice is to continuously stir the rice while gradually adding warm broth or stock over some time as it is absorbed. This method releases the natural starches of rice as it cooks, creating a thick and creaming consistency.
WHY learn How to Make Risotto
- It’s easier than you think! It gets a bad rep for being too difficult to make yourself, but that’s not true. Yes, there are specific steps to take to get the right consistency by adding hot broth to the rice in stages, and that’s where this guide to making risotto comes in!
- You’ll learn a technical restaurant-quality recipe. Once you learn the steps, making a classic rice recipe like this one will be nothing to fuss about!
- The texture is everything! Risotto is the best combination of toasty, nutty rice cooked al dente in a savory sauce made from its starches with parmesan cheese, broth, and herbs.
- A tasty rice side dish. This recipe goes great with so many main dish options such as blackened salmon, an easy air fryer steak or grilled steak, or with any of my chicken marinades.
What rice is best for risotto?
The short answer is short grain rice! A traditional risotto uses Italian arborio rice because it is high in starch which naturally yields a creamy consistency when cooked. Any short-grain rice, like arborio, produces a softer and stickier texture with an al dente finish, unlike long-grain white rice, which is more fluffy.
The key to getting the perfect creamy texture for risotto is not to rinse the rice, because that rinses away the starch, which is more common with long-grain rice dishes. The process of slowly adding liquid in small amounts until absorbed allows the arborio rice to stay al dente on the inside and soft on the outside, creating a pudding-like base with a chewy bite.
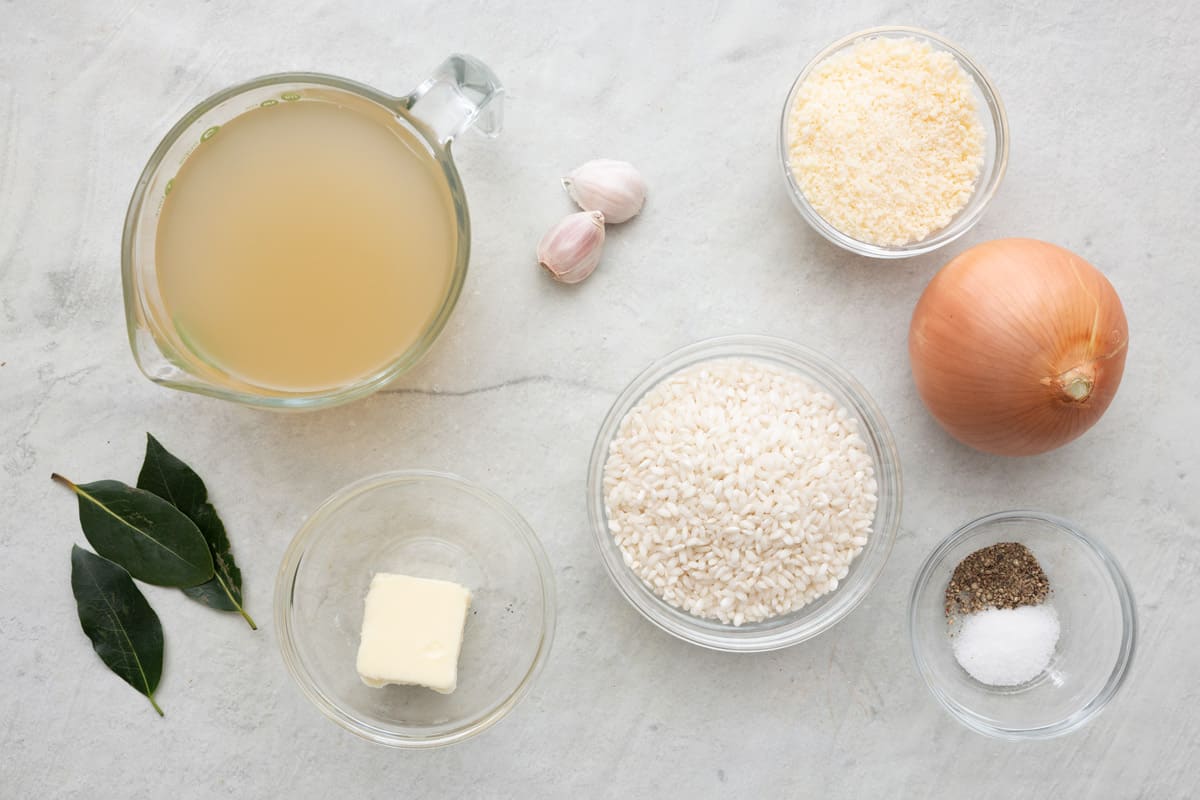
Ingredients for Risotto
- Arborio rice – It’s easy to find in most grocery stores and is high in starch which creates the perfect consistency for this recipe. The two other alternatives that yield that signature starchy goodness would be Carnaroli or Vialone Nano.
- Butter – Use the butter to toast the rice at the beginning of the recipe and then also add in right before serving for an ultra-creamy dish. You could also use a combination of butter and olive oil or just oil.
- Broth – Use chicken broth or vegetable broth (or stock) as both add flavor.
- Aromatics – Yellow onions and fresh garlic create the best flavor base.
- Bay leaves – Fresh herbs add an earthy flavor, but you could use 1 dry bay leaf instead of 3 fresh ones. Or, substitute for sage or thyme depending on what’s available and your preference.
- Parmesan cheese – Freshly grated has the best flavor and creaminess to risotto.
- Salt and pepper
HOW TO MAKE a Creamy Risotto
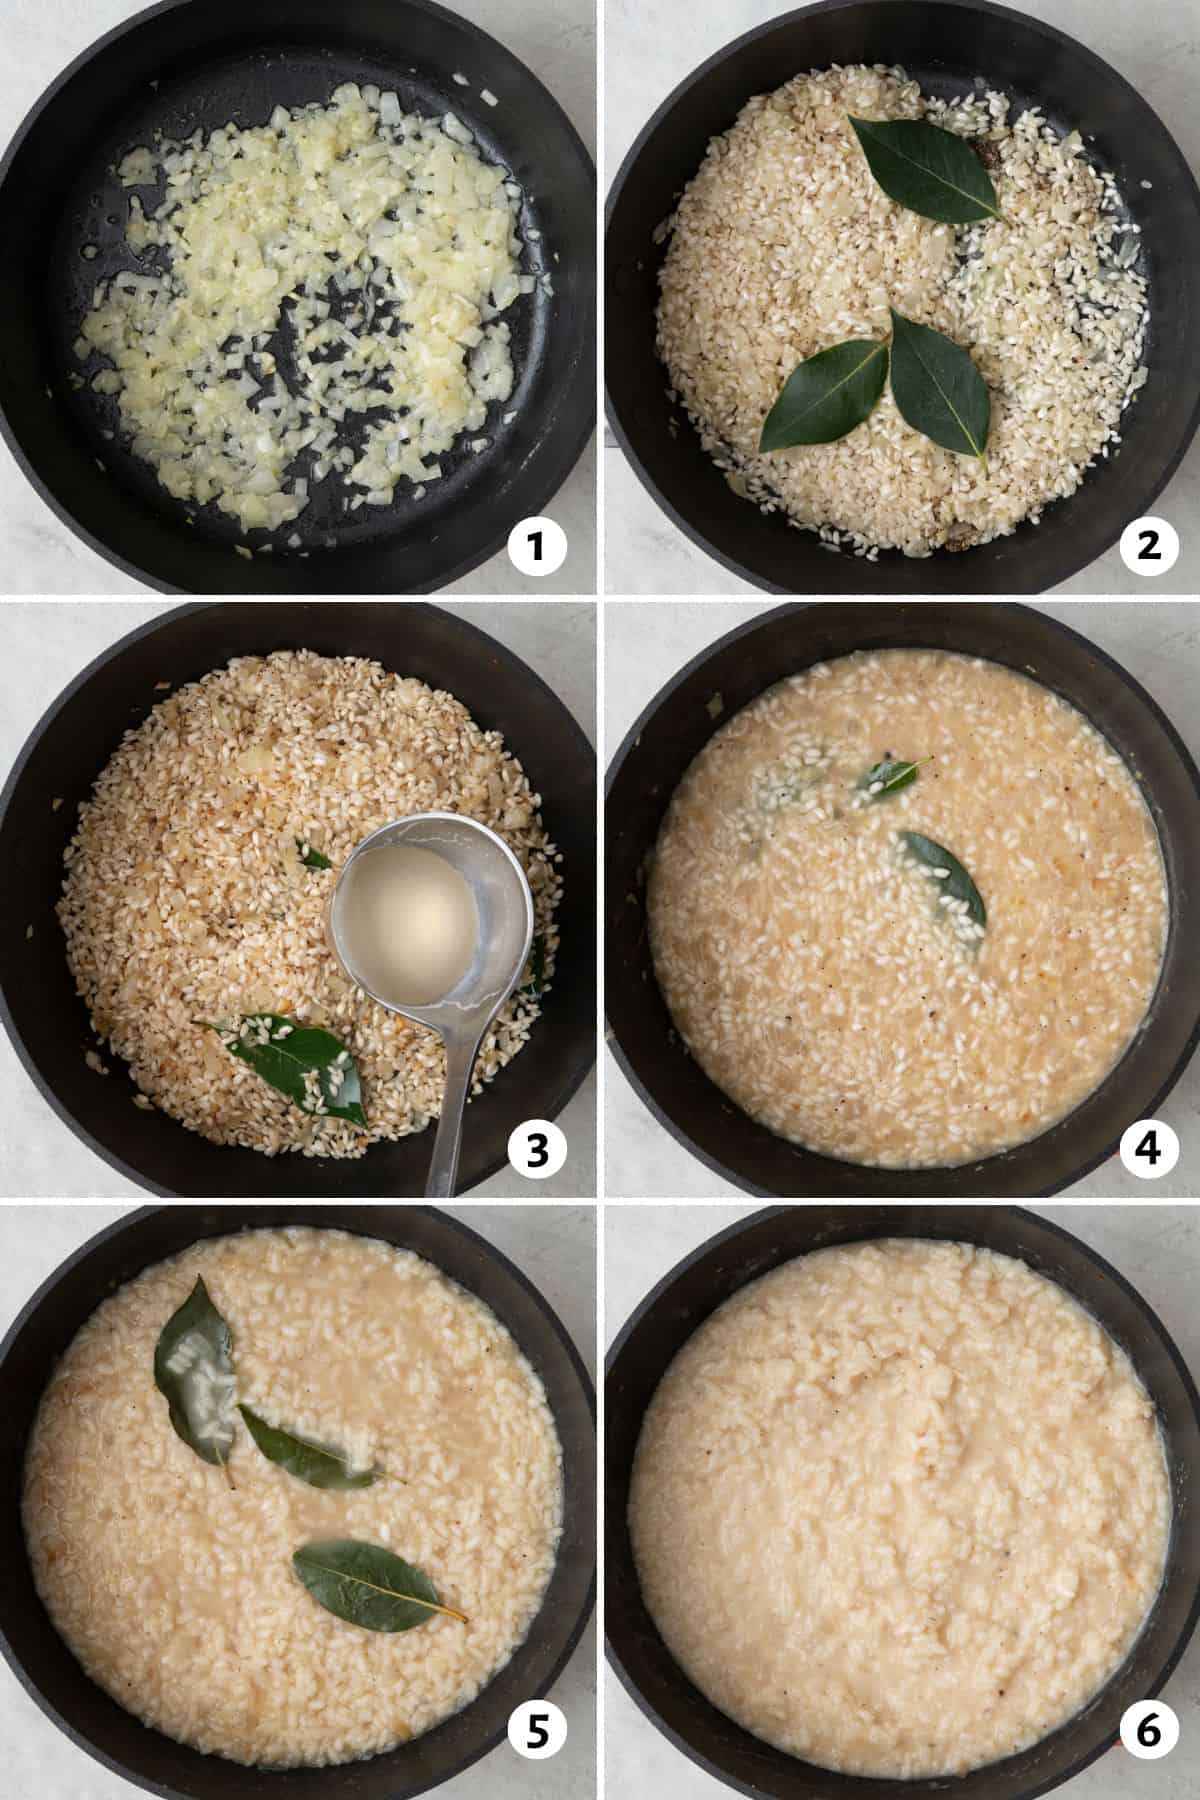
Each step adds a layer of flavor and starts to build the foundation for the risotto to be creamy with the perfect bite. You’ll need one pot for the risotto and a separate pot of boiled broth with a ladle ready for transferring to the rice pot.
- Cook the onions and garlic until just fragrant.
- Stir the rice and bay leaves into the onion mixture with salt and pepper and toast it.
- With the ladle, add some broth to the rice pot and allow it to absorb almost completely.
- To the softened rice, add another ladle of broth and continue to repeat this step until all the liquid has been added.
- Allow the rice and liquid to absorb until thick and creamy.
- Stir in Parmesan cheese and extra butter for serving.
TIPS for making the best Risotto
- Rinse rice in broth. Try combining the broth and rice in a bowl, agitating it to loosen the starch, and straining it through a fine mesh sieve into the pot for heating. You’ll notice how cloudy the broth is and the white starch that settles on the bottom of the pan. This step translates to a nuttier flavor from toasting and will still have that signature creaminess from the starch clinging to the rice for a quicker risotto recipe.
- Opt for a wide shallow pot. When the rice has more room, it forms an even layer across the bottom near the heat source, allowing consistent cooking throughout.
- Use low, simmering heat. This low simmer is ideal for soaking up the liquid as it steams away in an uncovered pan. I’ve found that this temperature cooks off the broth without overcooking the rice.
- Don’t over-stir. You still want to agitate the rice while cooking, but a quick stir around the bottom of the pan once or twice every few minutes is all that’s needed to prevent the rice from sticking together and creating a creamy consistency.
- Add broth in batches, not all at once. I add about ½ cup of broth at a time and wait until the liquid is nearly absorbed before adding the next. Because the rice cooks without a lid, you’ll notice how it will absorb the broth and evaporate.
recipes to make with Homemade Risotto
Pair this parmesan and herb-infused risotto with one of these main dishes for a well-rounded and wholesome dinner:
HOW TO Store & Reheat Risotto
Risotto is best served hot and fresh after being made. Add a splash of water or broth before heating in the microwave or stovetop until warm.
HOW LONG WILL Risotto LAST IN THE FRIDGE?
If you have leftovers, store them in an airtight container in the fridge for up to 3 days.
CAN I FREEZE Risotto?
I don’t recommend freezing risotto as it loses its al dente texture through freezing, thawing, and reheating, and the longer it sits, the more moisture it absorbs. Freezing may be an option if you plan on using it to make another recipe.
FREQUENTLY ASKED QUESTIONS
No, it is cooked uncovered as this allows for the liquid to evaporate while being added in batches.
You’ll want to use piping hot broth to help maintain an even temperature after the rice has been toasted which makes for a quicker recipe and helps to prevent overcooking.
Risotto is best served as soon as you’ve made it. As it sits, the rice will soak up more and more liquid and can become soggy. Leftovers will keep for 2 to 3 days and can be reheated, although you may want to stir in a little extra broth to loosen it back up.
Once all the broth has evaporated in stages, check that the risotto looks creamy but not too thick. You also want a soft al dente bite before stirring in the cheese and extra butter.
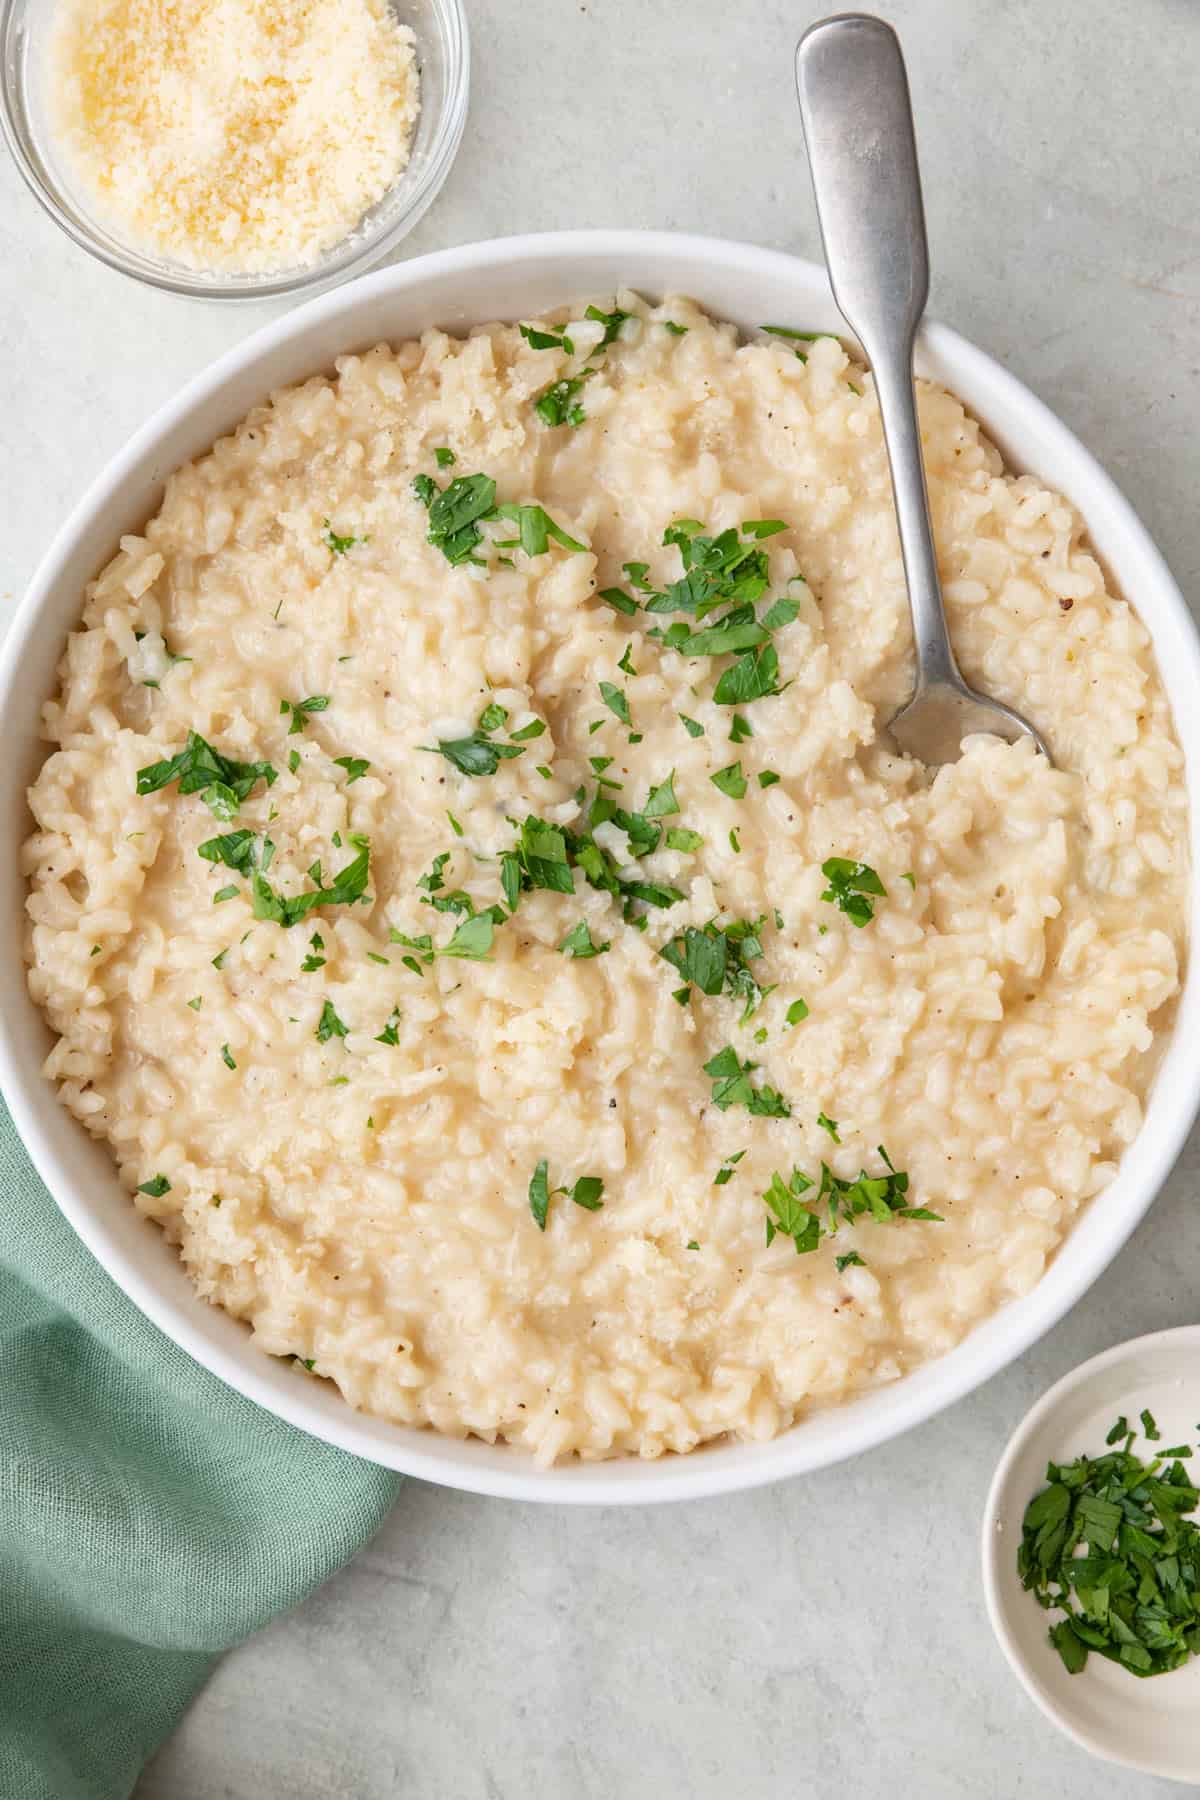
You’ll be making restaurant-quality risotto in no time with this easy guide to a creamy, classic recipe. With so many options to pair it with, this can become part of your weekly meal plan and is fantastic for special occasions.
MORE cooking tutorials:
- How to Cook Rice
- How to Cook Basmati Rice
- How to Cook Brown Rice
- How to Cook Farro
- How to Cook Lentils
- How to Make Cauliflower Rice
- How to Cook Quinoa
- How to Make Broccoli Rice
- How to Caramelize Onions
- How to Cook Chickpeas
If you found this tutorial for How to Make Risotto helpful or if you try any recipe on Feel Good Foodie, then don’t forget to rate the recipe and leave a comment below! It helps others who are thinking of trying out this tutorial and we would love to hear about your experience. And if you snapped some shots, share it on Instagram so we can repost on Stories!

How to Make Risotto
Ingredients
- 4 cups low-sodium vegetable broth
- 3 tablespoons butter divided
- 1 small yellow onion finely chopped
- 2 cloves garlic minced
- 1 cup arborio rice
- 2-3 fresh bay leaves
- 1 teaspoon salt
- ½ teaspoon black pepper
- ½ cup freshly grated Parmesan cheese
Instructions
- In a medium saucepan, bring broth to a boil and then reduce to a low simmer. Keep heat on low.
- Meanwhile, in another medium saucepan over medium heat, melt 2 tablespoons butter. Add onion and cook, stirring occasionally, until softened, about 5 minutes. Add garlic and cook, stirring, until fragrant, about 1 minute.
- Stir rice and bay leaves into onion mixture and season with salt and pepper. Cook, stirring constantly, until rice is coated with the butter and onions and lightly toasted, about 3 minutes.
- Use a ladle to add ½ cup of broth, stir, then allow the broth to be almost all absorbed, 2-3 minutes. Keep adding more broth, ½ a cup at a time and allow the broth to get absorbed undisturbed, until all the broth is incorporated, about 20 minutes total.
- Remove the saucepan from heat, remove the bay leaves and discard. Stir in the Parmesan cheese and more butter and serve immediately.
Notes
Nutrition
Nutrition information provided is an estimate. It will vary based on cooking method and specific ingredients used.

Thank you so much for sharing this was waiting for the recipe from your end.🥰❣️🌟
You are so welcome! Yay!!