This post may contain affiliate links. Please read our disclosure policy.
If you’ve always wanted to learn how to make granola, you’ll love this easy step-by-step tutorial. Homemade granola requires a few basic ingredients, allows for endless customization, and makes for a great healthy snack to enjoy on its own, with milk, yogurt, or on top of baked goods like muffins.
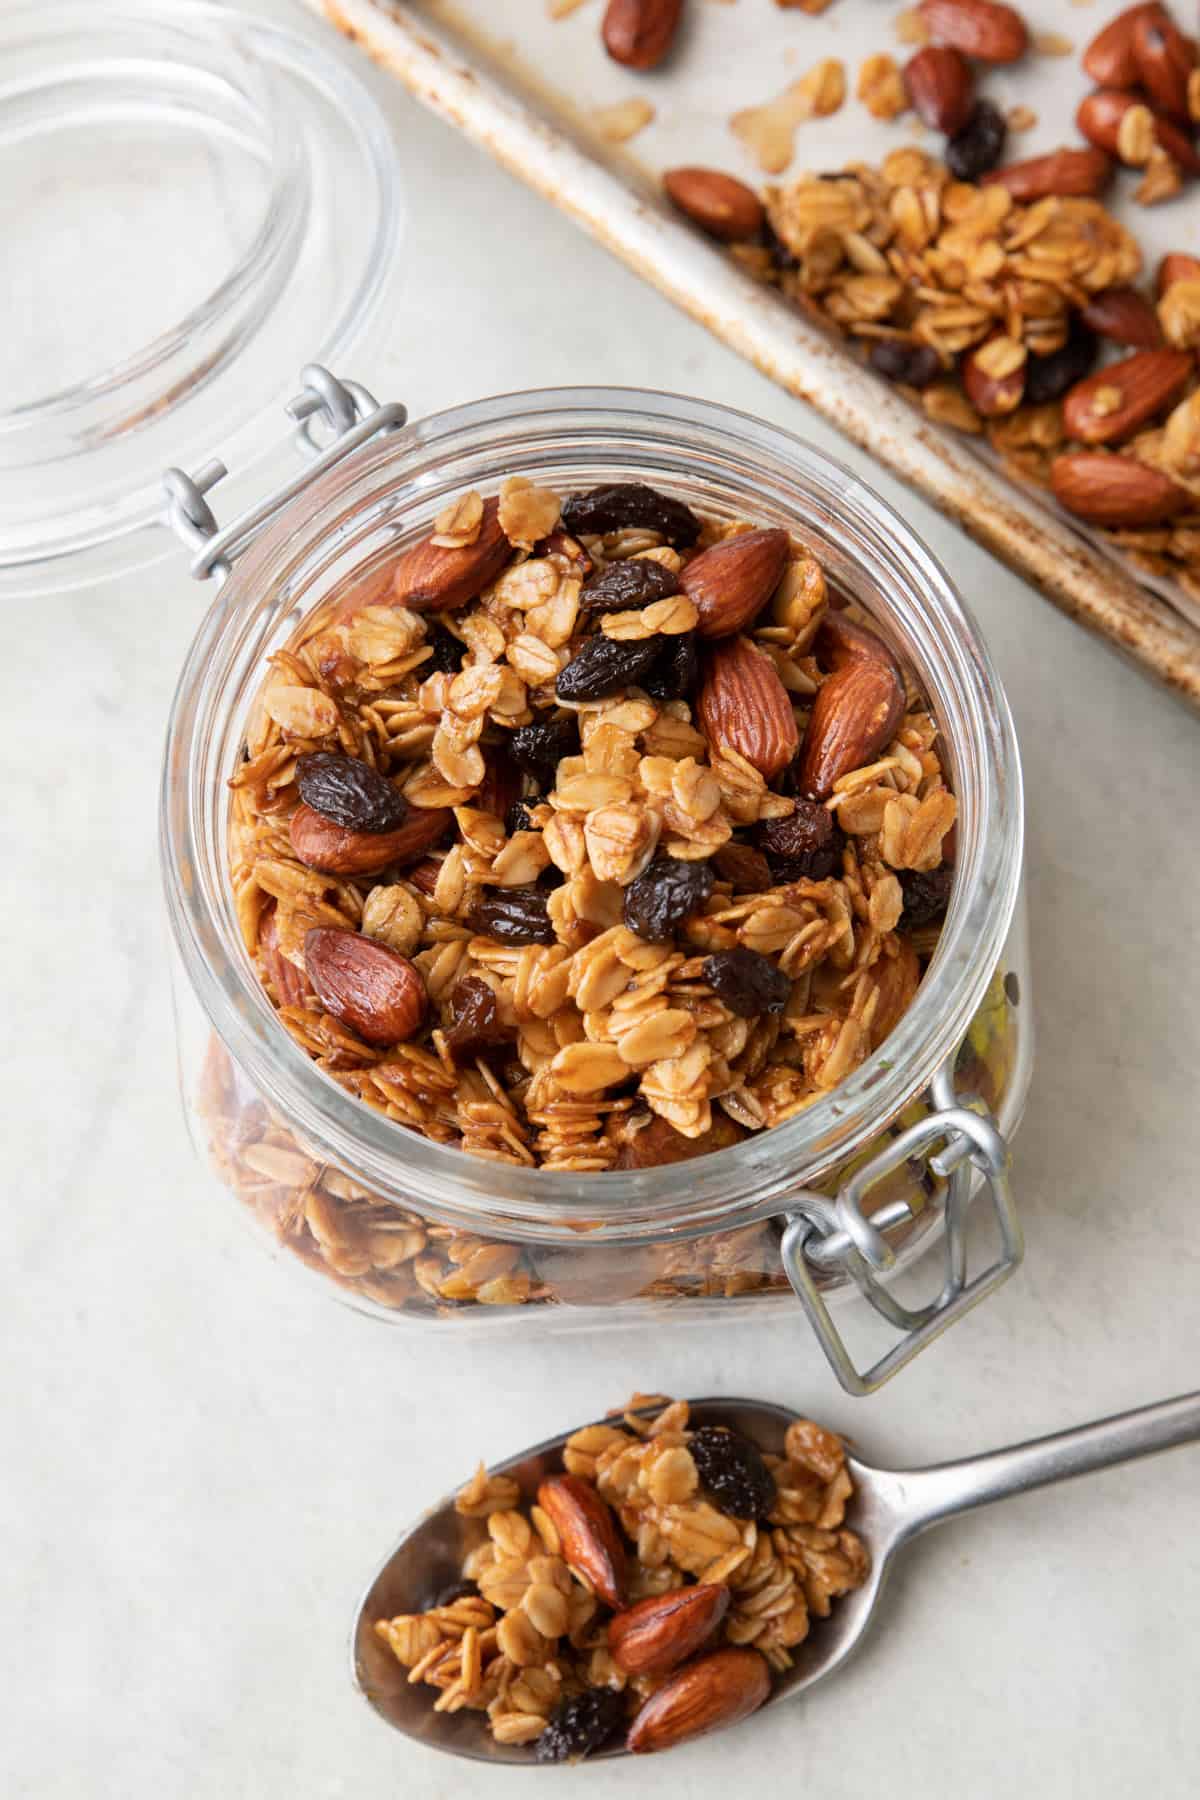
What I love about this recipe are the large caramelized clusters that form on the baking sheet. The granola comes out crunchy, slightly sweet, and perfectly flavored. If you enjoy this easy granola recipe, you will love this sweet, crunchy chocolate granola!
WHY learn to make your own granola
- So easy to make. It doesn’t get much easier than this to make homemade granola from scratch. It’s as simple as mixing, roasting, and tossing in to get a toasty, deliciously crunchy snack without much fuss.
- Completely customizable! Granola includes a handful of staple ingredients: oats, nuts, dried fruit, a sweetener, and oil, leaving a lot of room for various flavors. Try walnuts, macadamia nuts, pecans for the nut option, and raisins, dried cranberries, golden raisins, dried papaya, or any other fruit you like. You can also choose between using honey or maple syrup for the sweetener and coating. You can add and adjust the spices to match whichever ingredients you choose. Add pumpkin spice with pumpkin seeds to the mix, or sprinkle with some cajun seasoning for a spicy granola.
- Have granola ready to enjoy in the pantry. Make a batch to store in the pantry for something sweet and crunchy to add to your cereal, oatmeal, ice cream, or for snacking.
- It costs less and tastes better. Homemade is always better, and you can make 3-4x more granola for the same price as buying a bag. The initial cost may be more, but in comparison to store-bought, you can easily make an abundance of granola for less and have leftover ingredients for other recipes. You may even prowl the pantry for ingredients you have on hand. Plus, it has a decent shelf life when stored correctly, so you can make large batches and different flavors for all the granola you can handle!
granola recipe ingredients
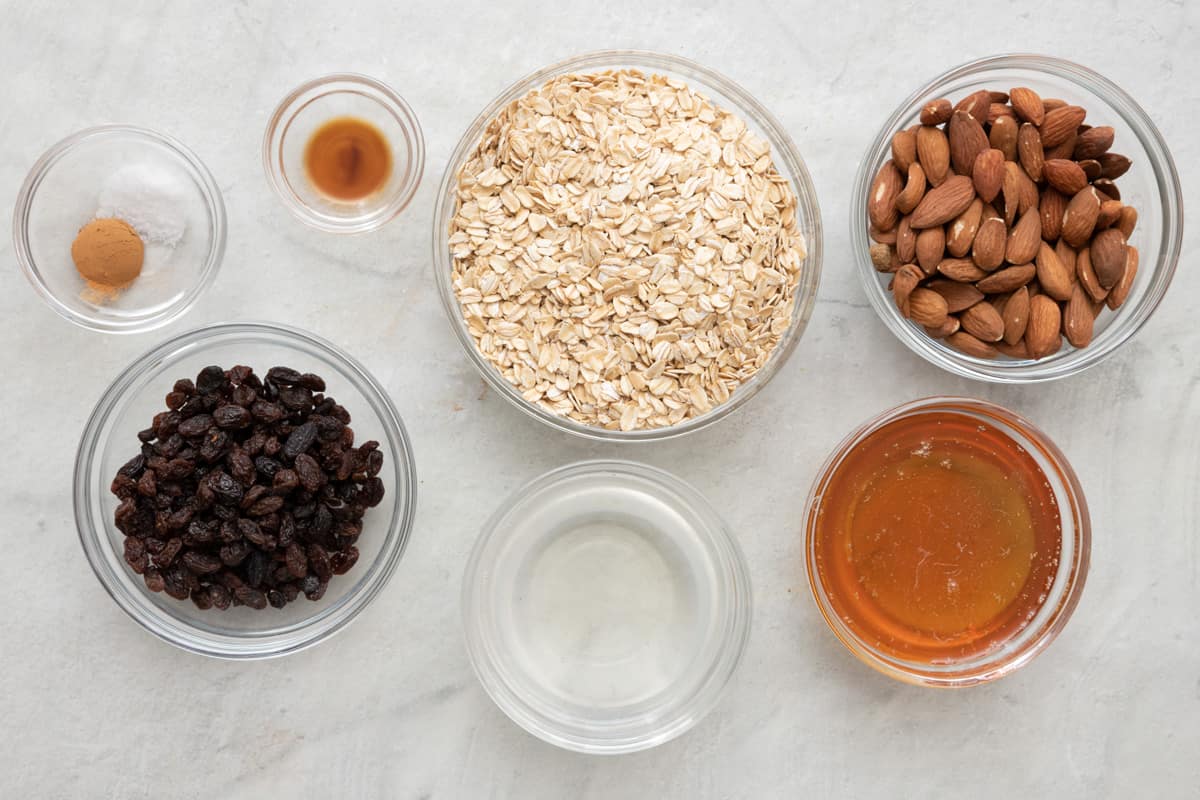
- Old-fashioned rolled oats – Oats are so versatile and are the base of granola because they hold their shape while cooking, resulting in a crunchy, toasty bite. Choose certified gluten-free oats for gluten-free granola.
- Nuts/Seeds – This recipe uses whole almonds, but you can use any nuts and seeds you’d like. Other choices include cashews, walnuts, pistachios, macadamia nuts, peanuts, chia seeds, flax seeds, sunflower seeds, and even squash seeds.
- Dried fruit – Dried fruit adds a fantastic chewy texture and a bit of sweetness. I used raisins for this batch, but you can easily swap them out for another dried fruit such as golden raisin, cranberries, banana chips, papaya, or whatever you may have on hand.
- Seasoning and spice – These are seasoned lightly with cinnamon, salt, and vanilla. Switch them up if you’d like, but I recommend not skipping on the salt, which helps to balance and elevate the ingredients’ natural flavors.
- Coconut oil – You could also use avocado oil or olive oil, which is essential to this granola recipe for crisp and crunchy bits. Olive oil is perfect for a savory bite.
- Sweetener – Making granola with a sweet glaze is so good! I use honey, but you could also use maple syrup.
HOW TO MAKE granola from scratch
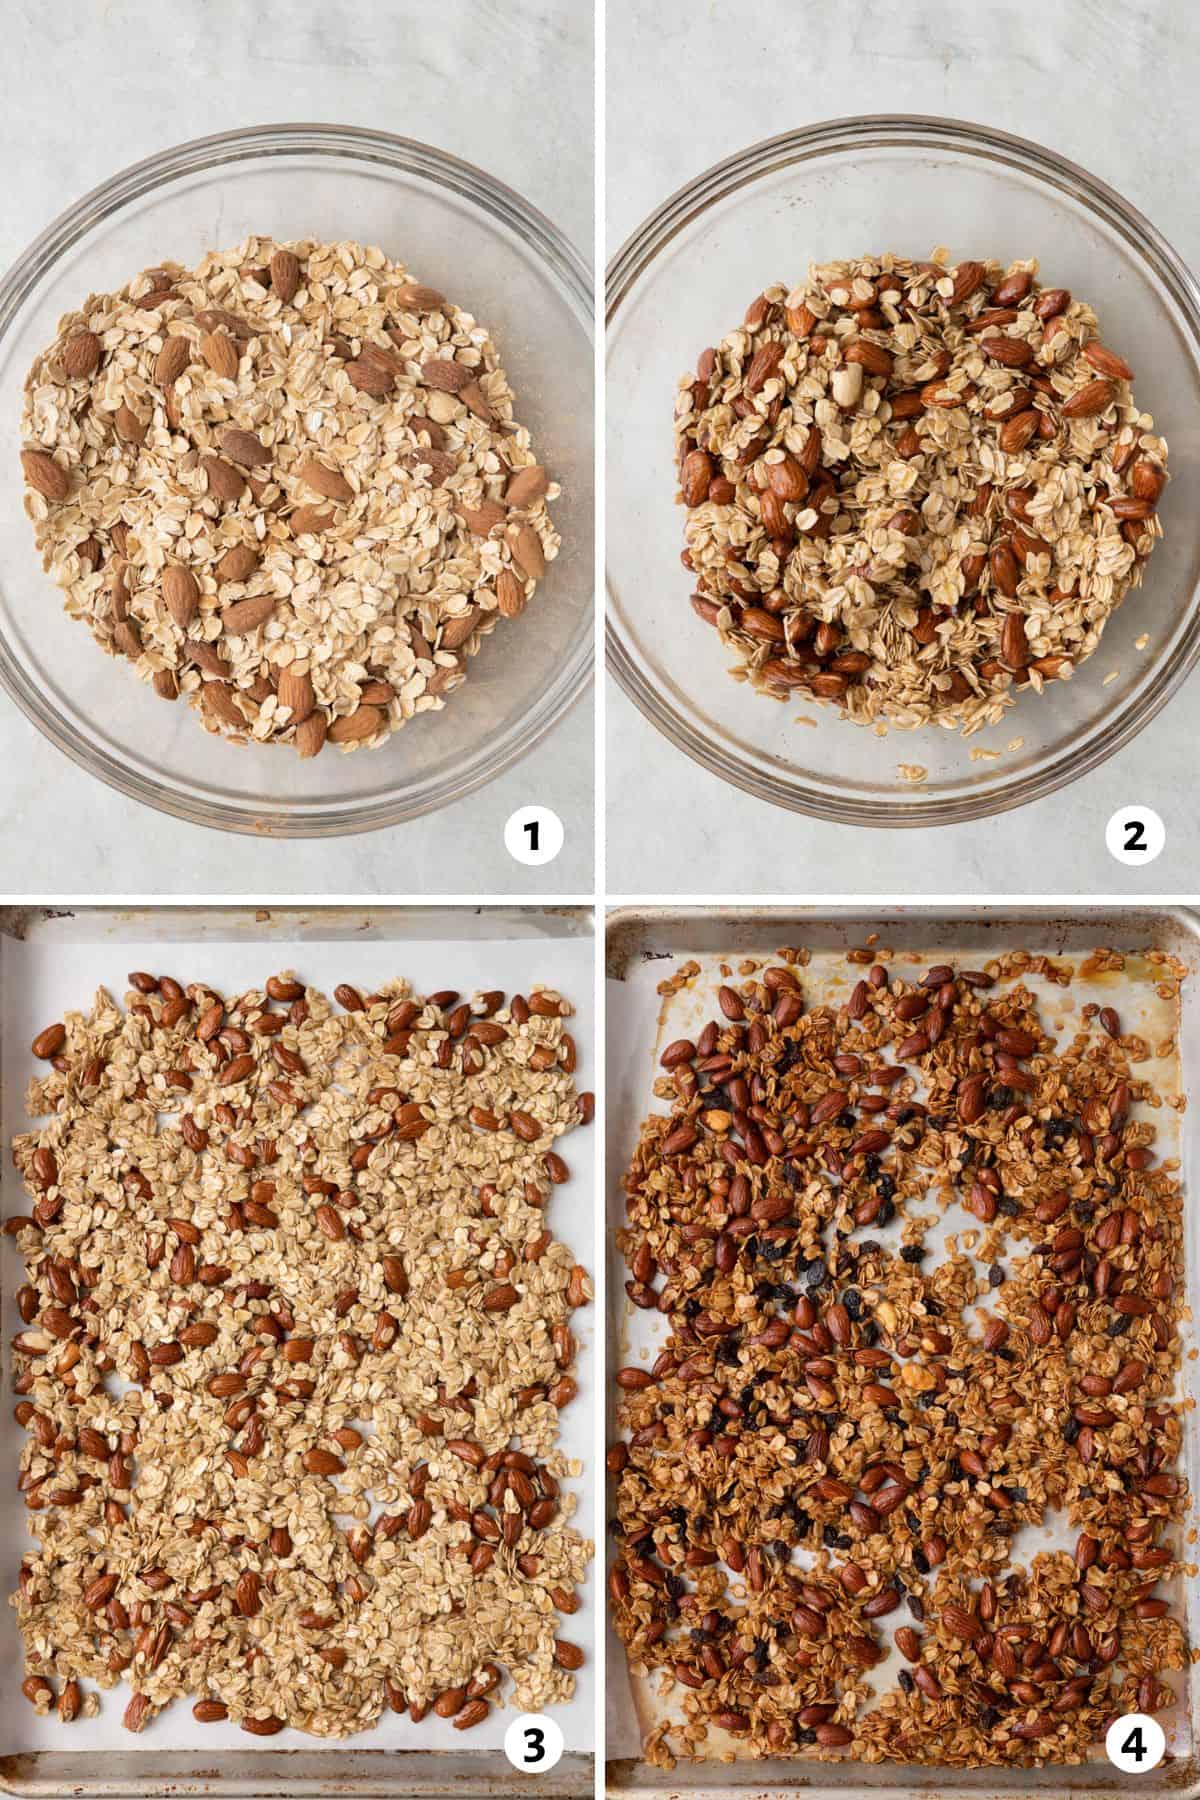
- In a large bowl, combine nuts, oats, cinnamon, and salt, tossing to combine.
- To the oat and nut mixture, toss in the oil, honey, and vanilla until well coated.
- Spread the honey-coated nut and oat mixture onto a parchment-lined baking sheet in an even layer and bake, tossing halfway through and until golden brown.
- Once done baking, allow to cool completely. Stir in the dried fruit and any optional add-ins you’d like. Break them into smaller pieces before storing them in an airtight container.
TIPS on How to Make Granola at Home
Granola is so easy to make yourself that you’ll never want to go back to store-bought again! These quick tips on how to make granola will generate deliciously crunchy results every time!
- Stir for even cooking. About halfway through baking, use a rubber spatula to stir the nuts and oats to encourage even toasting.
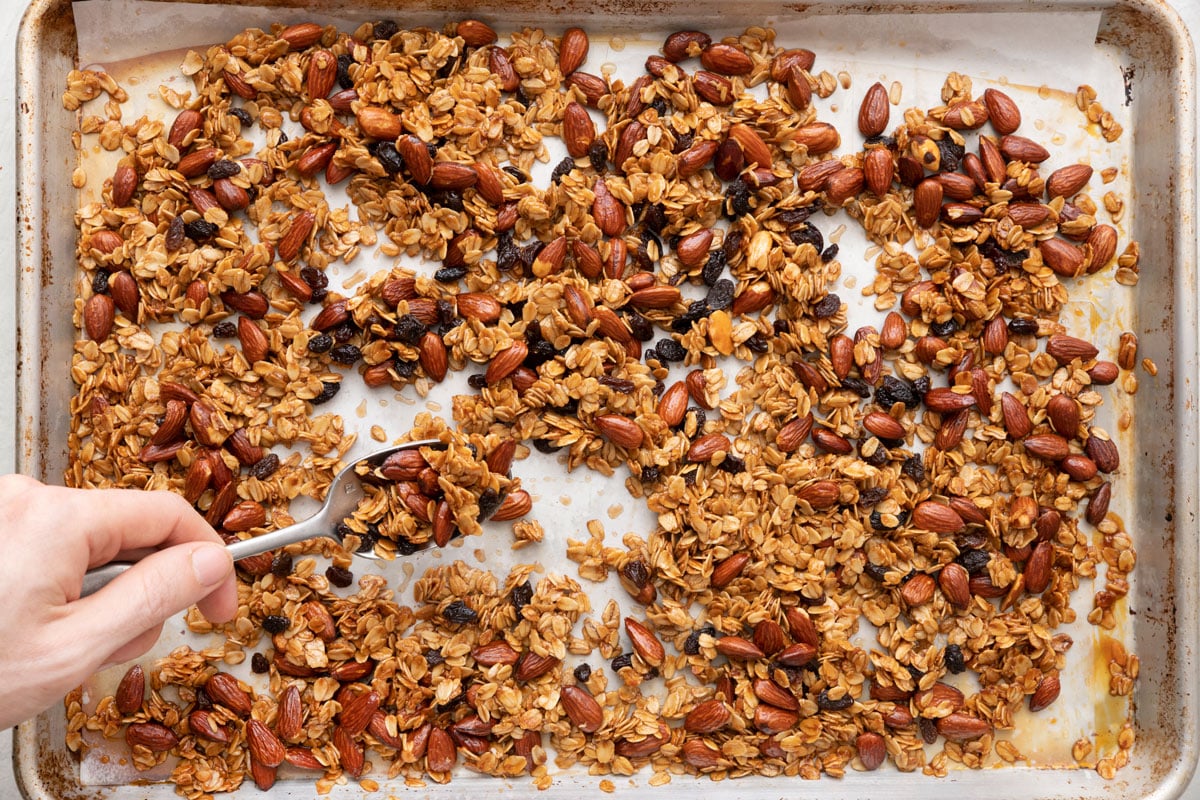
- Make it chunky. There are a few tricks to make granola have those signature chunks where a few oats, nuts, and dried fruit are gathered together for a deliciously crunchy bite. Press the ingredients onto the baking sheet before baking so the pieces are already touching. While it bakes, only stir the mix once, enough for it to cook evenly but stay together. Then when it comes out of the oven, press on the oat and nut mixture one more time so it sticks together while it cools. Then, you can break the pieces into whatever size chunks you’d like!
- Add dried fruit after baking. Wait until the end of baking to toss in the dried fruit, as it will burn if added to the tray beforehand. Try to mix it in while the granola is still warm if you’re looking for chunky pieces.
- Mix in your favorite additions. I love traditional granola with oats, nuts, and dried fruit, but you can certainly kick it up a notch and create an irresistible blend of crunchy, salty, sweet additions. Try tossing in candied walnuts, chocolate chips, coconut flakes (halfway through baking), chia seeds, and whatever your heart desires after baking. Toss citrus zest into the mix before baking for a fresh, zingy addition.
- Don’t over-bake the granola. You want an even golden brown toasty finish without going too far. If it cooks too long, the sugar will break down and may burn, preventing the ingredients from sticking together to form chunky pieces.
- Bake low and slow. Cook at 300 degrees F slowly for about 30 minutes or until it is golden brown and toasty. Cooking at too high of a temperature will likely burn the honey coating, the oats, and the nuts. A lower temperature ensures even baking for crispy, crunchy granola.
what to eat with granola
Making granola from scratch is super easy and an excellent topping for some of my favorite recipes. You can enjoy them for breakfast, a quick snack, or a dessert. There are many options to include this homemade crunchy honey-coated oat and nut snack in your recipes.
- Strawberry Parfait
- Grilled Peaches
- Peach Galette
- Healthy Banana Split
- Chocolate Chia Pudding
- Fluffy Banana Pancakes
- Smoothie Bowl (3 Ways)
More Homemade Granola Recipes to Try
- Honey Oat Granola Bars
- Caramel Apple Granola Bars
- Cranberry Almond Granola Cereal
- Chocolate Peanut Butter Granola Bars
HOW TO STORE Homemade Granola
Once the granola has completely cooled, store it in an airtight container at room temperature.
HOW LONG WILL Granola LAST in the Pantry?
Granola stored in an airtight container glass may have a slightly longer shelf life than if stored in plastic. It can last up to a month but will vary depending on the container and how often the jar is opened.
CAN I FREEZE Granola?
Absolutely, and freezing granola is the best way to extend its quality and freshness. You can freeze it for up to 3 months. When ready to use, remove from the freezer and allow to come to room temperature before storing on the counter.
FREQUENTLY ASKED QUESTIONS
If your granola is soft, you can do a quick roast on them. If this is the case after baking, they likely needed more time to toast thoroughly. If they are soggy after storage, they may have been stored while still warm. To fix this, spread the granola on a baking sheet and heat it in a 400-degree oven for about 5 minutes. This quick high temp bake is only for reheating and should only be done for a few minutes to prevent burning.
To get a crunchy granola, cook it at a low temperature and stir it at least once to ensure all the ingredients have room to toast. Cooking at a low temperature allows the oats and nuts to dry entirely while roasting without burning for a crunchy bite.
After baking, set the baking sheet on a cooling rack and allow the granola to cool and dry thoroughly for about 45 minutes to an hour. It should no longer be sticky and will be dry to the touch before storing.
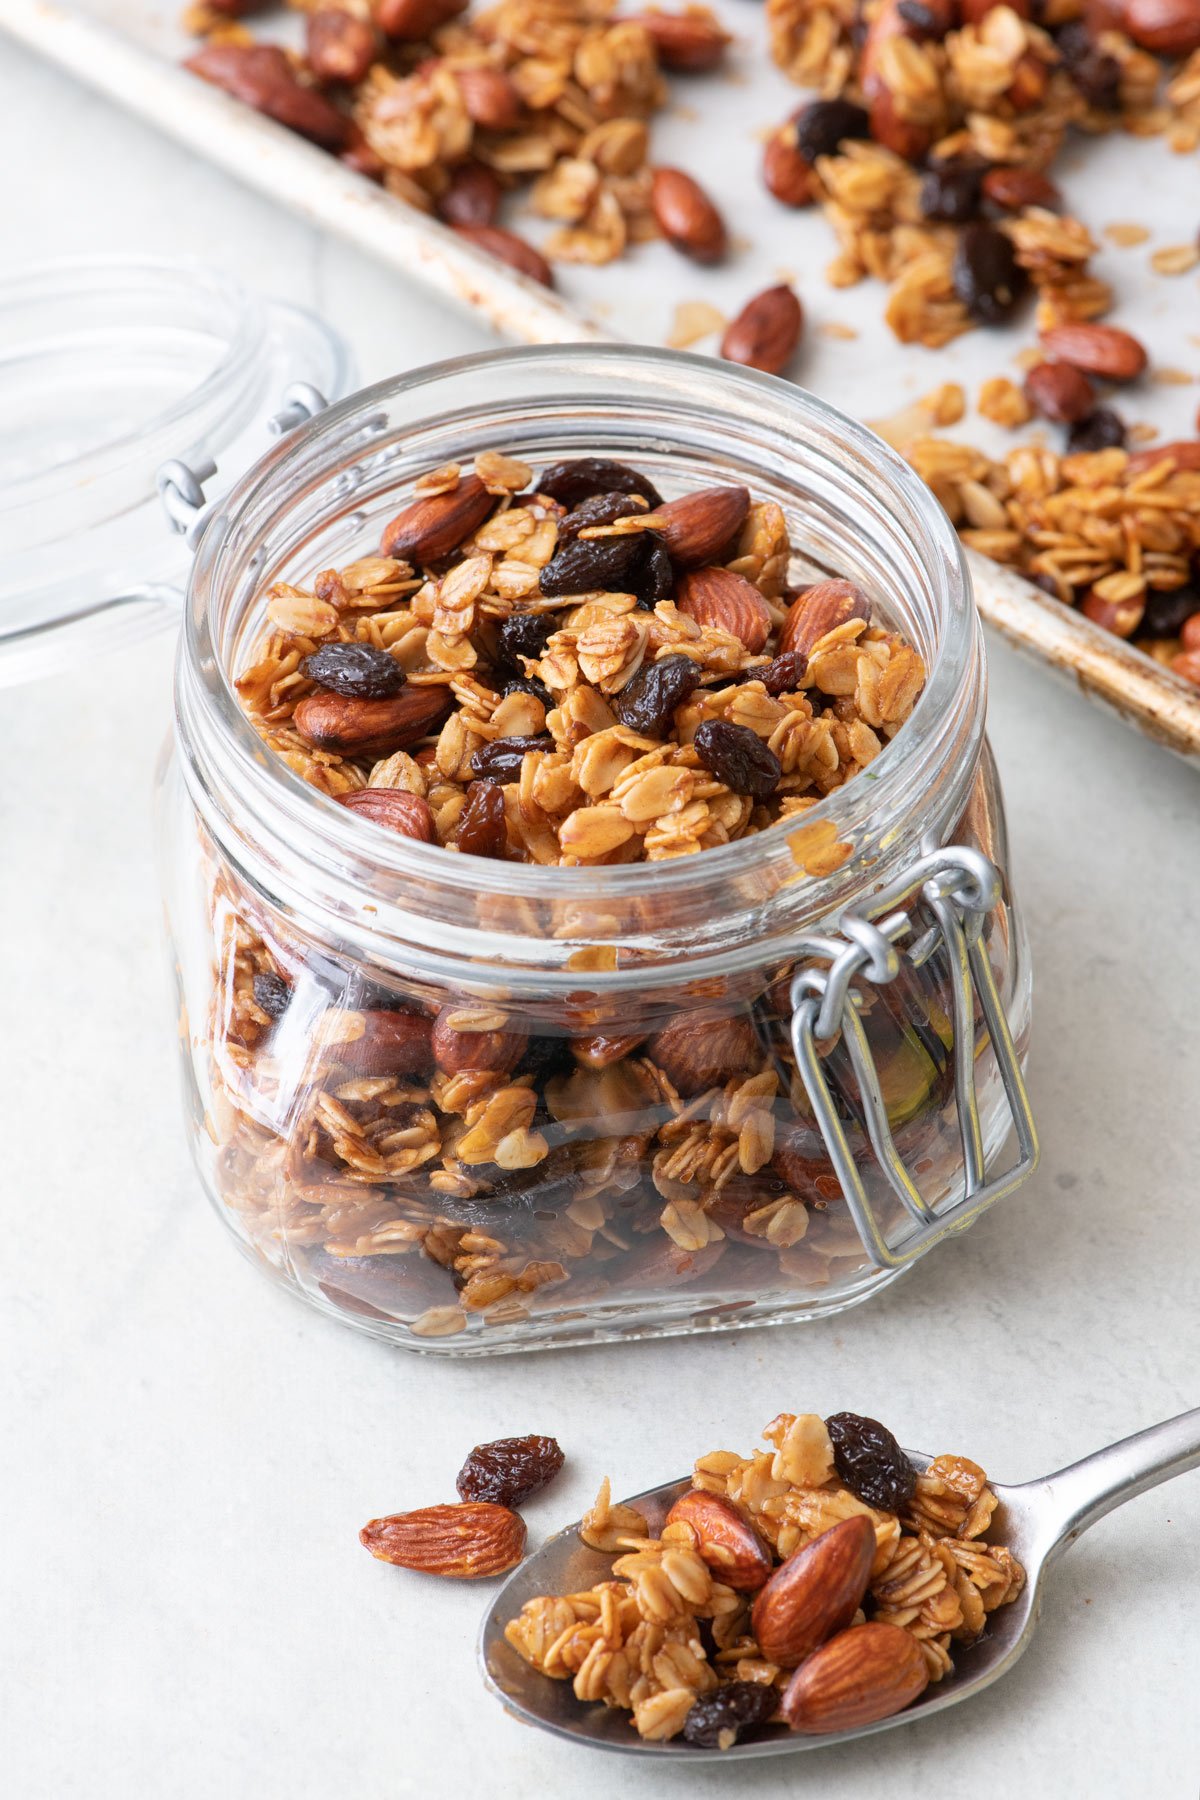
This quick and easy guide provides fantastic tips and tricks on making granola to use in recipes or enjoy as a snack. You’ll appreciate the endless possibilities and combinations of ingredients to create a fantastic granola to match your tastes. Follow this tried and true recipe to get started on your way to more flavor options.
MORE cooking tutorials:
- How to Make Candied Walnuts
- How to Make Pumpkin Pie Spice
- How to Make Apple Butter
- How to Make Waffles
- How to Make Popsicles
- How to Make Fruit Leather
- How to Make Cashew Cream
- How to Make Jam
If you found this tutorial for How to Make Granola helpful or if you try any recipe on Feel Good Foodie, then don’t forget to rate the recipe and leave a comment below! It helps others who are thinking of trying out this tutorial and we would love to hear about your experience. And if you snapped some shots, share it on Instagram so we can repost on Stories!

How to Make Granola
Ingredients
- 2 cups rolled oats
- 1 cup raw nuts and/or seeds almonds
- ½ teaspoon cinnamon
- ½ teaspoon salt
- ¼ cup coconut oil melted
- ½ cup honey
- 1 teaspoon vanilla extract
- ½ cup dried fruit raisins
Instructions
- Preheat the oven to 300˚F. Line a large baking sheet with parchment paper.
- In a large bowl, combine oats, nuts or seeds, cinnamon and salt. Add the coconut oil, honey and vanilla and stir again until the mixture is well combined.
- Transfer the granola mixture onto the prepared baking sheet and spread into an even layer. Bake until the granola is golden brown, stirring halfway through, about 30 minutes.
- Allow the granola to cool completely, then stir in the dried fruit and any optional add-ins you’d like. Break the granola into smaller pieces and store in an airtight container.
Notes
Nutrition
Nutrition information provided is an estimate. It will vary based on cooking method and specific ingredients used.
Another recipe, another “SO GOOD!” I will never buy granola again.. why would I, when this tastes so much better! You can’t buy granola like this.. 5 stars!
I love this recipe with the chia pudding and I make it all thr time. But for some reason, the oats came out soft after baking it for 30 minutes as instructed. I left it a bit longer to see if that helps but it’s getting too dark and I don’t want them tasting burnt. Has that ever happened to you? Should I add more coconut oil and put it in the over for a bit? Or, does it harden as it cools? I don’t remember this happening before.
It seems like I am your trial and error gal. The oats does get crispy after it cools and no need for anymore oil unless we want them greasy and no need for extra cooking. This recipe is on point. I’m making another batch tonight to put it in a gift basket for my friend.
It should harden after it cools. If it doesn’t, then you might want to try turning your oven down by 25 degrees and baking for 45 minutes to really crisp up the oats.
I often cook with your recipes and this one was the first failure…
Is it really 1/2 cup of oil? I just baked the mixture for an hour and left with a pan full of soagy burnt oats with bunch of oil.
I checked other recipes and from what I see they require much less oil for same amount of rolled oats.
Oh, I’m so so sorry. That is a typo and should be 1/4 cup of coconut oil. I’ve corrected the recipe now and really apologize that you had to waste the ingredients.
I made this on an impulse when I realized I had all the ingredients. I’m so glad I made it because it’s very easy and tasty!
That is so perfect! Yay!
Thank you so much for this granola recipe! It is outstanding and so easy to make. I wish I knew about this recipe my whole life lol!
You are so welcome! Aww, I am so happy to hear that!
I made this not expecting it to be anything special. But oh my god. It was so good! I added shredded coconut and chopped dates, but other than that I kept the base of the granola the exact same. So so good!
I am so glad it exceeded your expectations! Sounds perfect. Yay!