This post may contain affiliate links. Please read our disclosure policy.
You know those pink pickles you find at Middle Eastern restaurants served with your shawarma or chicken kabobs? They’re pickled turnips, and they get their bright pink color from beets! For those of you that have never had pickled turnips before, you’re in for a treat! The turnips remain firm but not hard, with just a hint of sweetness from the beets, a lovely tartness from the vinegar, and a peppery bite from the turnip itself. To sum it up… they’re delicious!!
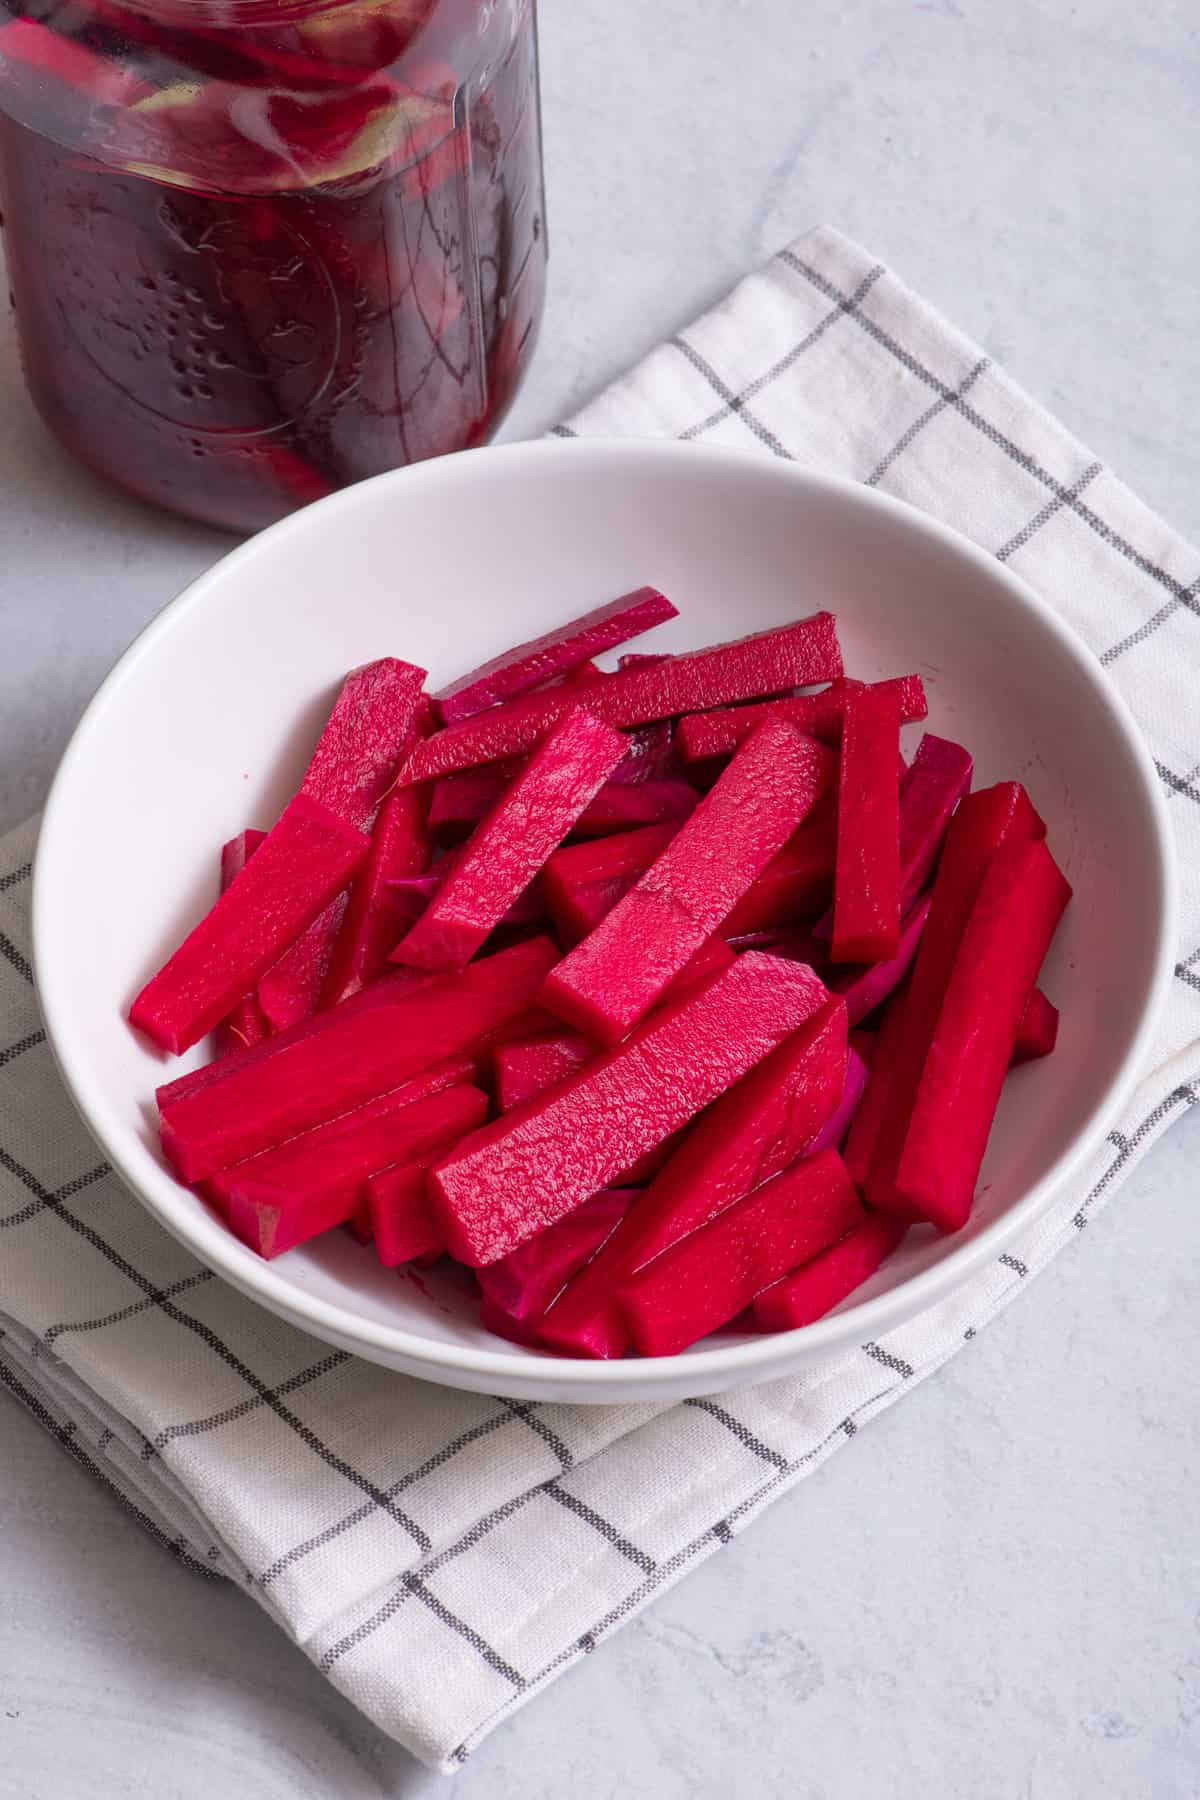
If you’re looking for a delicious way to add some excitement to your meals, look no further than Lebanese pickled turnips with beets! These Middle Eastern pink turnips are a staple Lebanese condiment that I always have in my fridge. If you’re a fan of pickled vegetables and haven’t tried pickled turnips yet, make sure to grab a couple next time you’re grocery shopping to try this easy pickled recipe! You’ll thank me later!
why you’ll love these middle eastern pickled turnips
- Crunchy, sour, and slightly sweet. These pickled turnips are the perfect addition to your next meal! Add them to a salad, use them as a condiment for your sandwiches or wraps, or just eat them straight out of the jar (I won’t judge!).
- Goes great with pretty much everything. Seriously, there are very few things that pickled turnips don’t go well with. It adds the perfect acidity to every meal and can really elevate a dish.
- The pink color is so pretty! I know, I know. This shouldn’t be a reason to love something, but it really does make your food look so much more vibrant and appetizing.
- They’re super easy to make! The hardest part about making pickled turnips is waiting for them to pickle (more on that later). Other than that, it’s a pretty straightforward process.
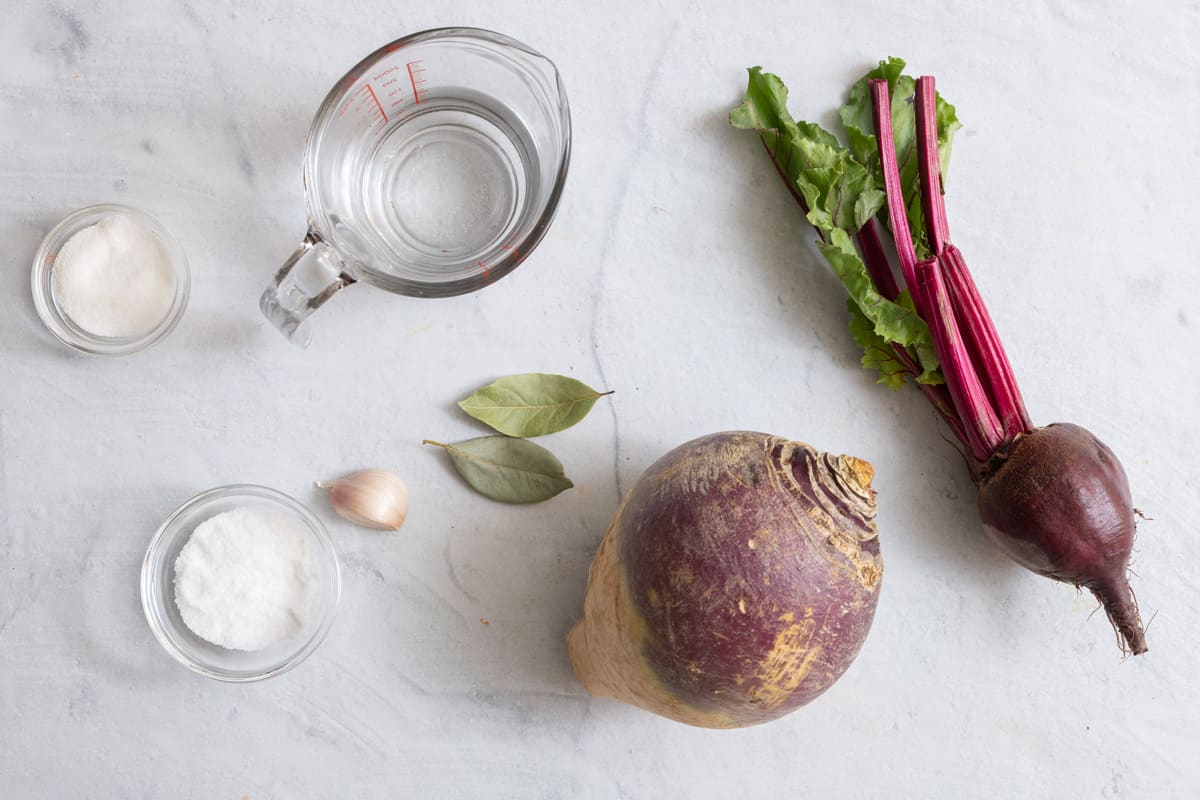
Ingredients to make Lebanese pickled turnips
- White vinegar: White vinegar has a neutral flavor and helps preserve the natural flavor of the turnip, which makes it perfect for pickling.
- Raw turnips: You’ll want to use fresh, firm turnips for this recipe. If they’re not fresh, they won’t pickle as well, and if they’re too soft, they’ll fall apart.
- Beets: Beets not only give the pickled turnips their characteristic pink color, but they also add a slight sweetness to the mix.
- Bay leaves: Bay leaves are optional, but they add a subtle flavor to the pickles and help keep them fresh.
- Sugar: Just a touch of sugar, which is also optional, helps to round out the flavors.
- Garlic: Adds an earthy flavor that compliments the peppery flavor of the turnip.
- Kosher salt: Enhances the flavor and acts as a preservative.
How to make Pickled Turnips
These pink turnips are really easy to make, but there are a couple of things to keep in mind. First, you’ll want to sterilize your jars and lids. This is important because we’re not going to be canning the pickled turnips, so we need to make sure that the jars and lids are clean and free of any bacteria. Second, you’ll want to ensure that the turnips are nice and firm. If they’re not fresh, they won’t pickle as well, and if they’re too soft, they’ll fall apart.
Other than that, making pickled turnips is a pretty straightforward process.
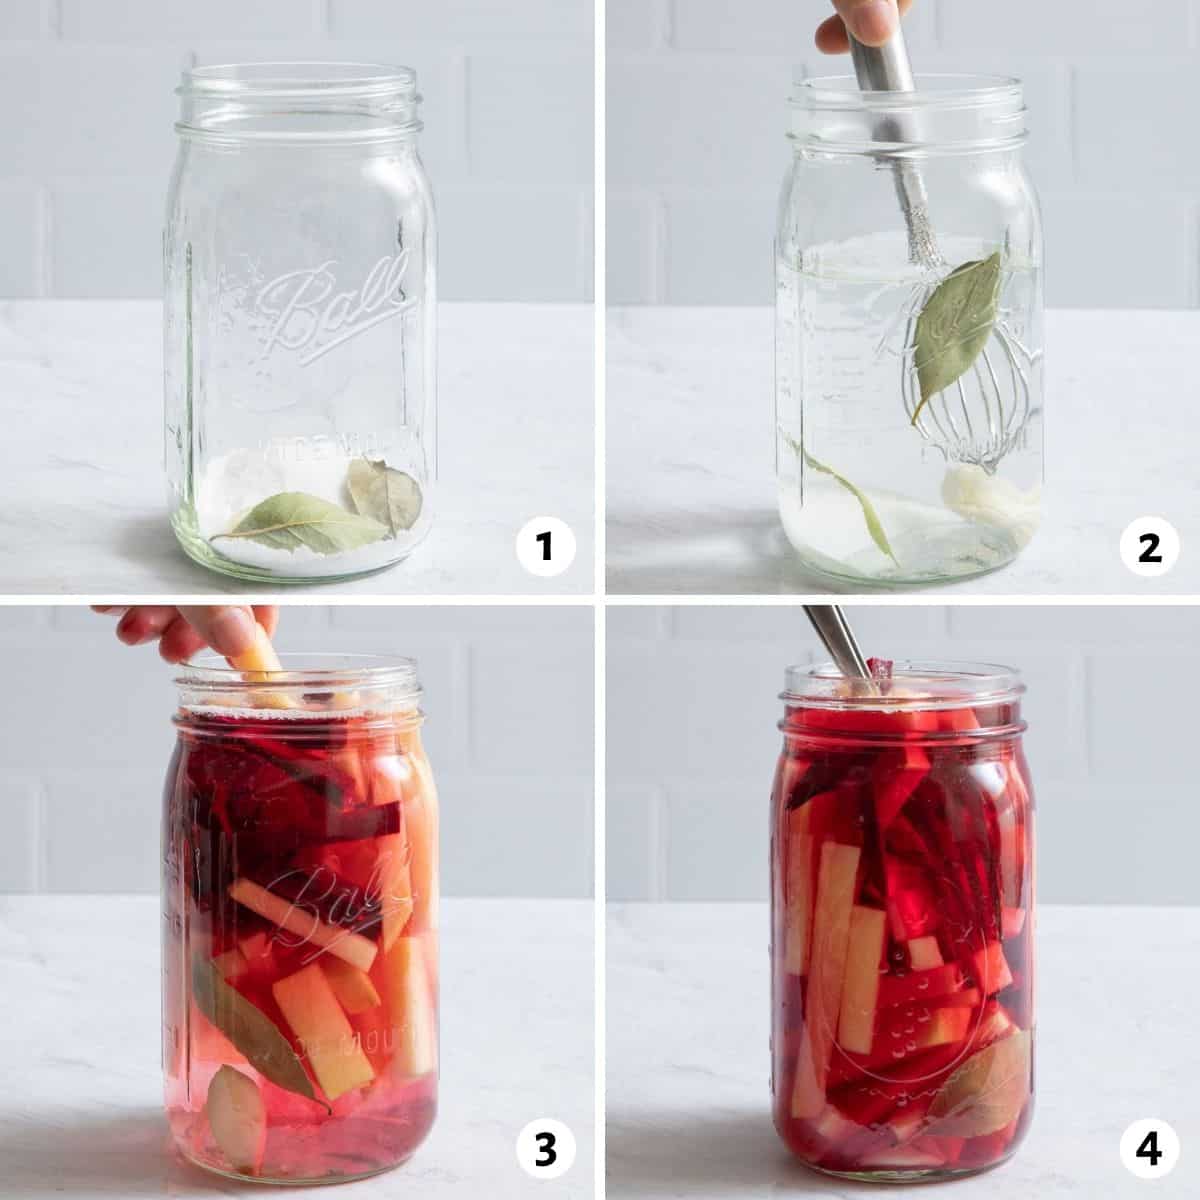
add Ingredients to the Jar
- In a wide-mouthed mason jar, salt, sugar, garlic, and bay leaves.
- Pour in hot water and vinegar. Stir.
- Add the turnips and beets to the jar.
- Pack the jar with the turnips using a fork to arrange if necessary.
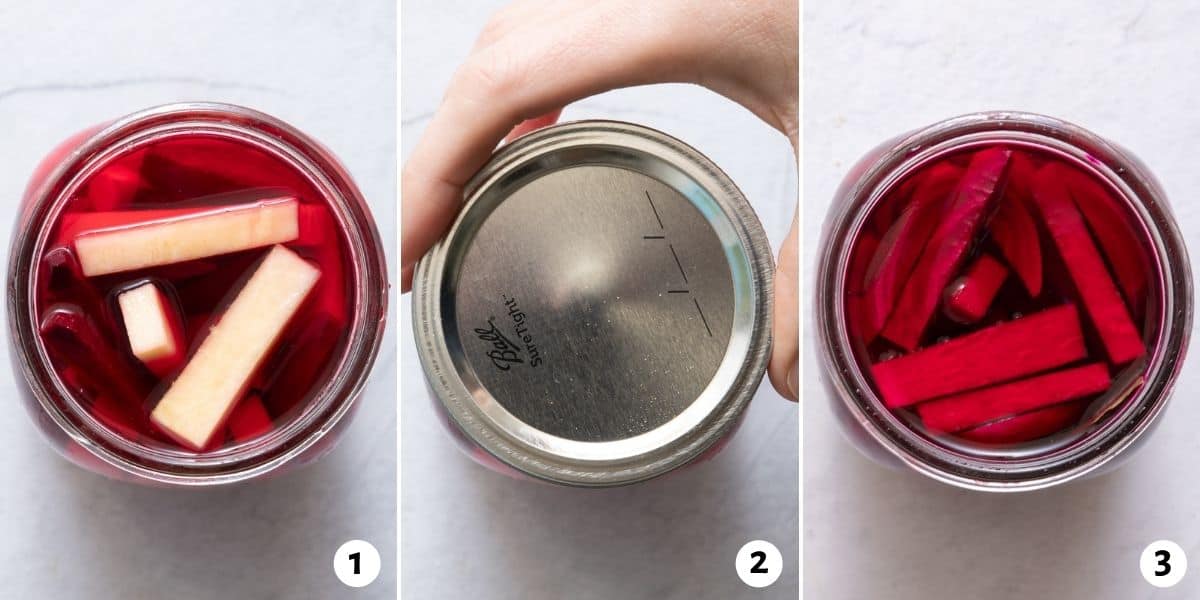
Seal and Store
- Submerge the turnips in the vinegar mixture. Allow to cool.
- When cooled completely, seal the glass jar tightly and allow it to sit at room temperature.
- Enjoy the pickled turnips after five days.
Tips for making pink turnips
- Start with fresh firm turnips. Turnips can become soft quickly in humid conditions, so it’s important to pickle the turnips immediately after purchasing at their peak freshness so that they are crispy after pickled.
- Use kosher or sea salt, not table salt. It’s totally fine in a pinch to use regular table salt. However, kosher salt, sea salt, or pickling salt will give you the best results. That’s because regular table salt has additives in it that could affect the pickling process or result in murky-colored pickle juice.
- Pack the turnips in tightly. The tight packing creates gas pockets to enhance the fermentation process and help it pickle deliciously.
- Mince the garlic. I like to smash the garlic for a subtle garlic taste, but you can also press the garlic or mince it to add a more distinct garlic flavor. And feel free to add even more garlic!
popular substitutions & additions
- Add pepper. You can use black or pink peppercorns or even chili peppers for some extra added heat.
- Add fresh herbs. This is not traditional as part of Lebanese pickled turnips, but you could certainly add herbs to the pickle brine to change up the flavor. Try it with oregano, thyme, mint, or dill.
- Try golden beets. Golden beets will result in a more yellow pickle, but they are delicious!
- Substitute apple cider vinegar. This will give the pickled turnips a slightly sweeter flavor.
what do you eat with Lebanese Pickled Turnips
how to store pickled turnips
You’ll want to keep them in a cool dark place until you’re ready to eat them. If stored correctly, it will last one month unopened. Once opened, you’ll need to store them in the refrigerator.
how long will pickled turnips last in the fridge?
They should last for a month in the fridge but are best consumed within the first two weeks. That is, if you can keep them in “stock” for that long!
Frequently asked questions
Technically, yes. However, the beets add not only color but also a slight sweetness to the pickles. If you don’t have a beet on hand, you could try substituting it with carrots!
Yes. Sugar is added to help round out the flavors and balance the acidity of the vinegar but it’s not necessary.
If the turnips start to smell acidic, discolor or develop mold, they are no longer safe to eat. Additionally, if the brine becomes cloudy or discolored, it’s best to discard it as well.
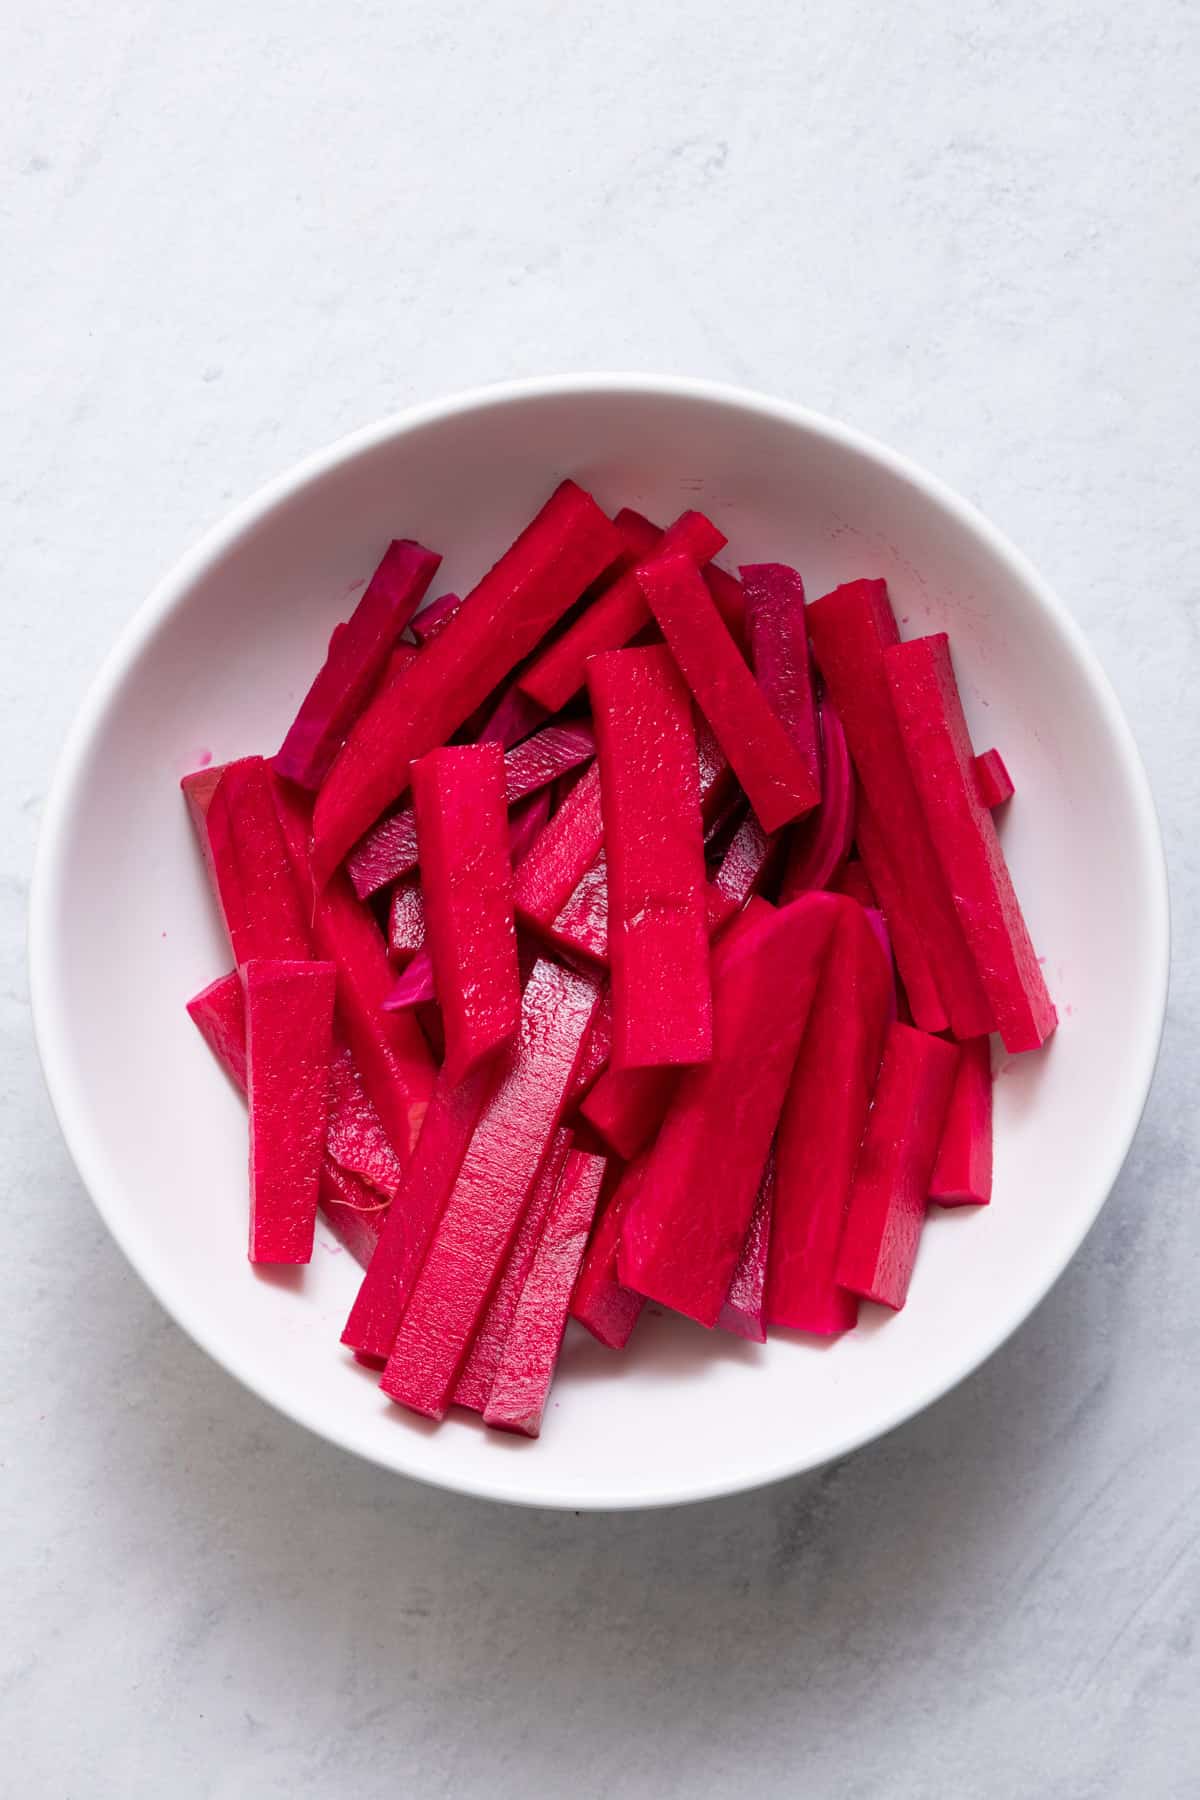
Pickled turnips are a middle eastern staple that can be eaten with just about anything. From chicken shawarma to beef kabobs, these pink turnips add the perfect acidity and flavor to any dish. This recipe is easy to follow and only requires a few ingredients that are easy to find. So what are you waiting for? Give pickled turnips a try today!
Do you have a favorite way to eat pickled turnips? Let me know in the comments below!
More authentic Lebanese recipes:
- Lebanese Green Bean Stew
- Grilled Lamb Kabobs
- Lebanese Kibbeh Balls
- Lebanese Freekeh with Chicken
- Lebanese Mujadara
If you try this feel good Pickled Turnips recipe or any other recipe on Feel Good Foodie, then don’t forget to rate the recipe and leave a comment below! It helps others who are thinking of making the recipe. We would love to hear about your experience making it. And if you snapped some shots, share it on Instagram so we can repost on Stories!

Pickled Turnips
Ingredients
- 1 ½ cups hot water
- ½ cup white vinegar
- 2 tablespoons kosher salt
- 1 tablespoon granulated sugar
- 1 large garlic clove smashed
- 2 bay leaves
- 1 pound turnips peeled and cut into ½ inch thick batons (about 3 small ones)
- 1 small beet diced
Instructions
- In a wide-mouthed 32 ounce glass mason jar (this is what I have), place the hot water, vinegar, salt, sugar, garlic and bay leaves. Stir continuously until the salt and sugar dissolve.
- Add the turnips and beets in the jar, making sure they are submerged in the vinegar mixture. Allow to cool.
- When cool, seal the glass jar tightly and allow to sit for 5 days at room temperature in a cool dark place. Refrigerate afterwards and use within one month.
Equipment
Notes
Nutrition
Nutrition information provided is an estimate. It will vary based on cooking method and specific ingredients used.
If you seal your jars using the canning method do they last longer? Or no
They would, but you would need to make sure to follow safe canning methods based on the jars you use.
Can’t wait
I used about half and half turnips and beets ‘cause that’s what I had
You’ll have to come back and let me know what you think when you try them!
Yum! I just stuck after day 1 and already delish!
Haha so glad you like them Andrew!
Hi, I just makes this and now hoping for the best on 5 days. But I do have a question, I just washed the jars with warm soap & water before I filled them. I’m hoping that is ok and that they aren’t supposed to be sterilized? I get nervous about reading botulism.
You do not have to sterilize them!