This post may contain affiliate links. Please read our disclosure policy.
These Chocolate Peanut Butter Bars are the perfect treat for peanut butter lovers! They’re made with only four ingredients, they’re vegan, flourless and refined sugar free. You don’t need any special equipment and you don’t even need to bake them. It doesn’t get easier than this no-bake dessert!
This post is sponsored by the National Peanut Board. I received compensation, but all opinions and content are my own.
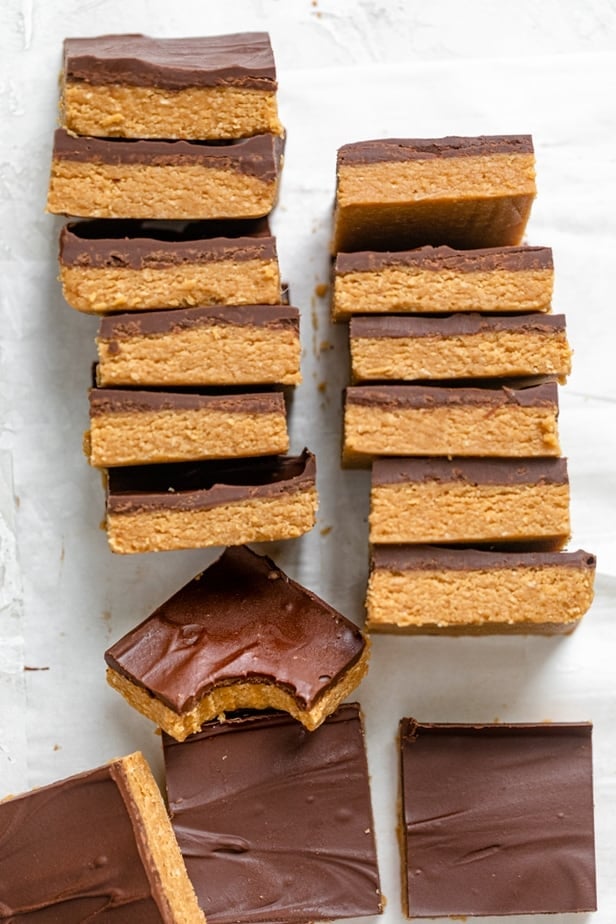
While most recipes for chocolate peanut butter bars mix peanut butter with powdered sugar, butter and graham crackers to make the peanut butter crust, I use oat flour and maple syrup instead to make the recipe dairy-free.
“Omgosh these bars are de-lish! I had almond flour so I used that and also chunky pb and these are a pb lovers dream come true! They are so good. I have to say that they are very filling too. I like that I can freeze these so I can say with confidence that I won’t eat a whole tray of these in the same week. Lol. Thanks for another great recipe!” – Lynda
Table of Contents
- Recipe at a glance
- Ingredients to make chocolate peanut butter bars
- Popular substitutions & additions
- RECIPE VIDEO TUTORIAL
- How to make chocolate peanut butter bars
- Tips for making the best peanut butter bars
- HOW TO STORE CHOCOLATE PEANUT BUTTER BARS
- Frequently Asked Questions
- More peanut butter recipes:
- Chocolate Peanut Butter Bars Recipe
Recipe at a glance
Cuisine Inspiration: American
Primary Cooking Method: No Bake & Chilled
Dietary Info: Vegan & Gluten Free
Key Flavor: Chocolate and Peanut Butter
Skill Level: Easy
Summary
- Quick Prep!: Only 4 ingredients! You mix, set, and enjoy these bars in less than 15 minutes.
- Healthy Ingredients: Only whole, plant-based ingredients are used. No added sugars or fillers.
- Perfect for any and all occasions: Ideal for parties, snacks, or a healthy dessert option.
- Kid and adult-friendly: Loved by all age groups for its ease and classic chocolate peanut butter flavor combinations.
Ingredients to make chocolate peanut butter bars
With only 4 ingredients to make these no-bake peanut butter bars, it’s a good idea to use high-quality ingredients for each of the items below.
- Peanut butter: This is the hero ingredient of the recipe and you’ll probably need to buy a whole jar, since you’ll need about ¾ of it just for these peanut butter bars. You can use any brand you like and any variety. I recommend smooth peanut butter though for the best texture. It’s also really easy to make your own peanut butter!
- Oats: Use rolled oats, old fashioned oats or quick oats. You’ll want to place the oats in a blender or food processor though to make it powder like – essentially oat flour. This only takes a minute to make it. This provides the structure and texture for the bars, and replaces the traditionally-used graham cracker crumbs. You can substitute with rice flour.
- Maple syrup: This is a natural sweetener that also helps to bind the base of the chocolate peanut butter bars since we’re not using any butter. You can substitute with other sticky sweeteners like honey or agave syrup.
- Chocolate chips: I like to use vegan semi-sweet chocolate chips or bitter-sweet chocolate chips, but you can use any kind you like. You can also use your favorite vegan chocolate bar since you’ll be melting it.
Popular substitutions & additions
- Oat flour: Using ground oatmeal is really great for flavor and texture in this recipe. However, you can swap out oat flour for rice flour if needed.
- Nut Butter Alternatives: Swap out peanut butter for almond butter or a creamy cashew butter.
- Add-Ins: Stir in chopped chocolate chunks, white chocolate, seeds, chopped nuts, or dried fruit. These can be added to the peanut butter oat base, or to the chocolate topping. This recipe is very versitle and lends itself to being customizable.
- Sweetner options: You can substitute with other sticky sweeteners like honey or agave syrup.
RECIPE VIDEO TUTORIAL
How to make chocolate peanut butter bars
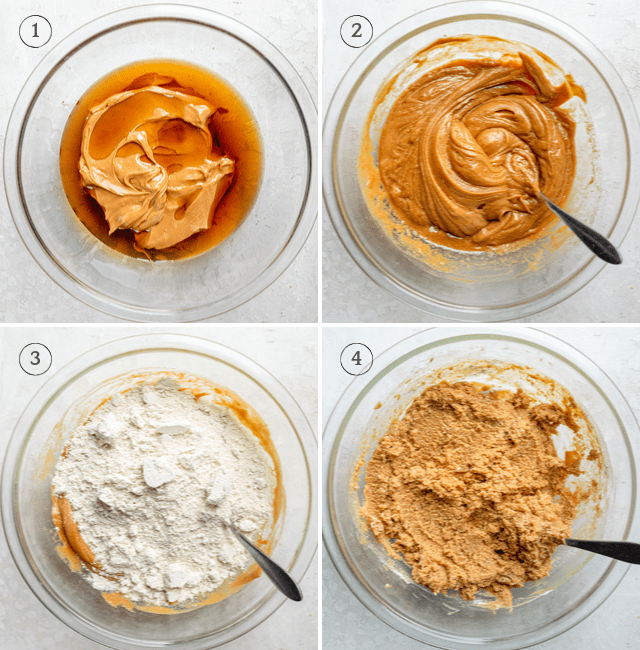
Start by heating up the peanut butter and maple syrup together. You can do this on a stovetop, but I find it quicker in the microwave to heat it for one minute. Then use a spoon to combine them well together.
Next, add the oat flour and combine it with the peanut butter and maple syrup mixture until there are no more flour streaks.
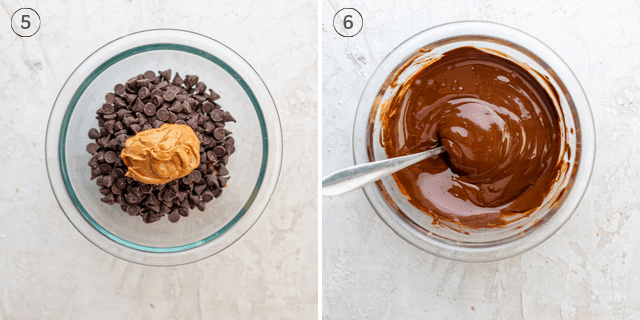
In another bowl, heat the chocolate chips with the second measurement of peanut butter. Again, you can use the stovetop or the microwave, and heat just until the chocolate melts. Then stir to combine.
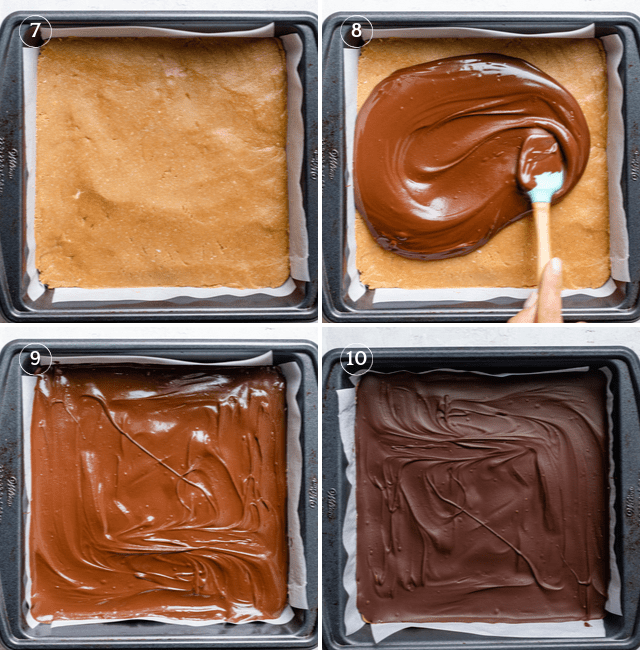
And now you’re ready to assemble everything. Use an 8×8 or 9×9 baking dish and line it with parchment paper or foil. Make sure you have enough hanging on the sides to make it easier to lift the chocolate peanut butter bars when they set. That makes it easier to cut them.
Press the peanut butter layer down firmly using the back of a spoon. Pour the chocolate mixture on top spreading it evenly with the back of a spoon or spatula. Then set it in the fridge for 1-2 hours until the chocolate is set on top.
Then you can use the parchment paper to lift the entire piece out of the baking pan and cut them into 16 equal chewy decadent chocolate peanut butter squares.
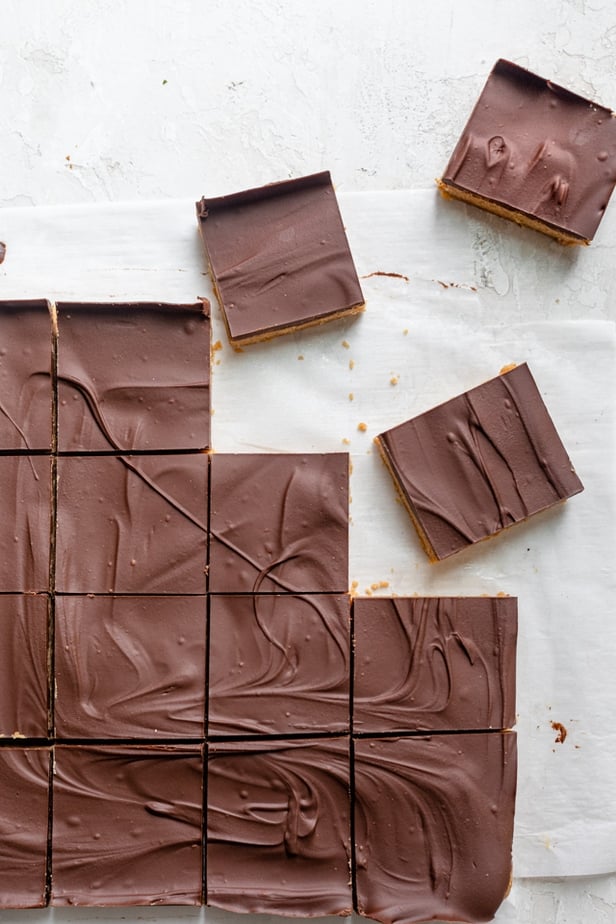
“These came out perfect! So easy. I made the oat flour from gluten-free oats and used agave syrup instead of maple syrup. Made them 3 times and perfect every time. My new favourite snack!” –Tina
Tips for making the best peanut butter bars
- Use high quality smooth peanut butter. The peanut butter is the most crucial part of the recipe so make sure to buy something that’s creamy with a delicious, natural peanutty flavor.
- Make sure to use a larger piece of parchment paper than necessary. This will allow some of the paper to hang on the sides, making it easier to lift the bars out of the pan and slice them neatly.
- Use the stovetop to heat the ingredients together if you prefer. The microwave is quicker for me, but you can do this on a stovetop. Just be sure to watch it carefully as you don’t want to overheat either of the mixtures.
- Make your own oat flour to save money. While you can definitely buy oat flour, making it at home is as easy as placing the measured amount in a blender or food processor and crumbling it until it’s flour-like. It usually takes a minute. Check out my oat flour post for more info!
- Place in fridge, not freezer to set. To get a smooth chocolate layer on top, I recommend placing it in the fridge. If you rush it and place in the freezer instead the chocolate will crack on top, thus affecting the presentation.
HOW TO STORE CHOCOLATE PEANUT BUTTER BARS
Once the bars have set and you have cut them into squares, store them in an airtight container with the layers separated with parchments. They will keep well in the fridge for up to 7 days.
Can I freeze no bake peanut butter bars?
Yes, these freeze really well! Wrap the squares individually before placing in a freezer bag or safe container. They will keep well in the fridge for up to 3 months and can be thawed at room temperature.
Frequently Asked Questions
Yes! For a simple peanut butter bar just omit the chocolate from the recipe. They’ll still be just as easy and delicious without the chocolate.
Yes, honey is a great alternative. Do note that it will change the expected flavor slightly, and will no longer be a vegan recipe.
I made these bars with almond flour as well as oat flour, and they tuned out great. I haven’t tried them with other types of flour, but let me know if you give anything else a try!
Make sure your bars have chilled for at least a couple of hours or overnight. Using less maple syrup can also help firm them up.
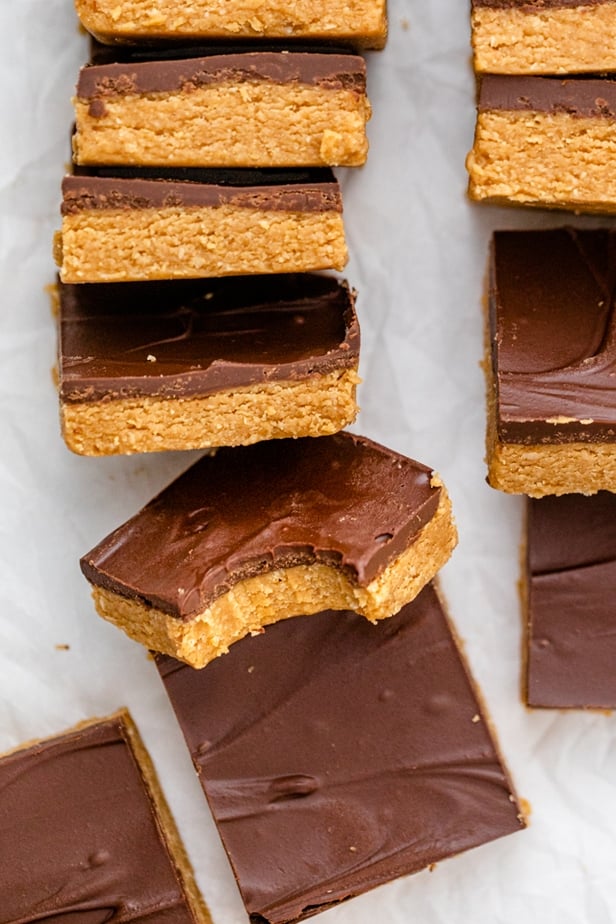
I’m obsessed with these easy delicious chocolate peanut butter bars! They are the perfect dessert for anyone who loves peanut butter and chocolate, and are very similar to peanut butter cups. They have a fudgy consistency, but made with no dairy and no refined sugars. Best of all, they only require 4 ingredients!
More peanut butter recipes:
- West African Peanut Soup
- Chocolate Peanut Butter Bread
- Gluten Free Peanut Butter Cookies
- How to Make Peanut Butter
- Peanut Butter Trail Mix Cookies
For even more peanut butter recipes for every occasion, click here.
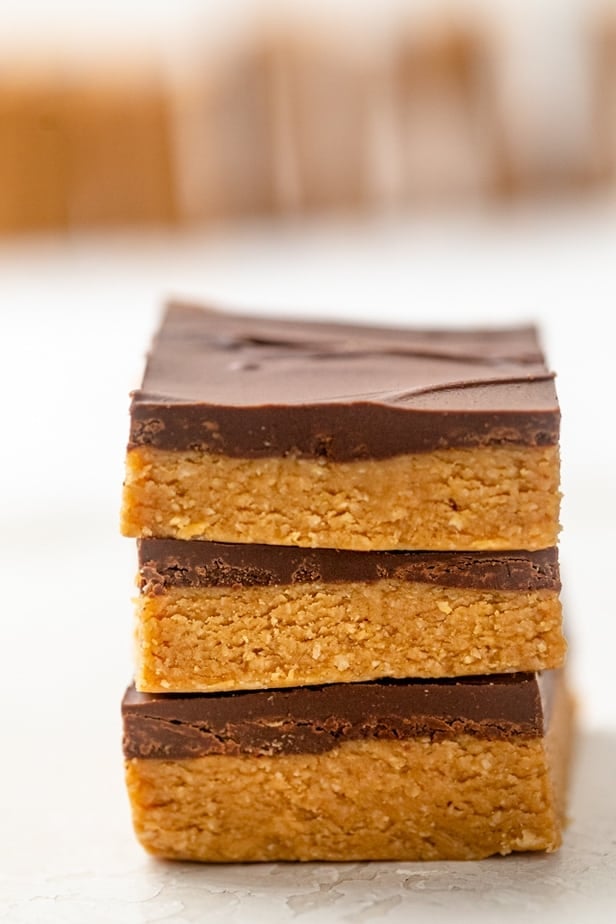
If you’ve tried this feel good Chocolate Peanut Butter Bars recipe or any other recipe on FeelGoodFoodie, then don’t forget to rate the recipe and leave me a comment below! I would love to hear about your experience making it. And if you snapped some shots of it, share it with me on Instagram so I can repost on my stories!
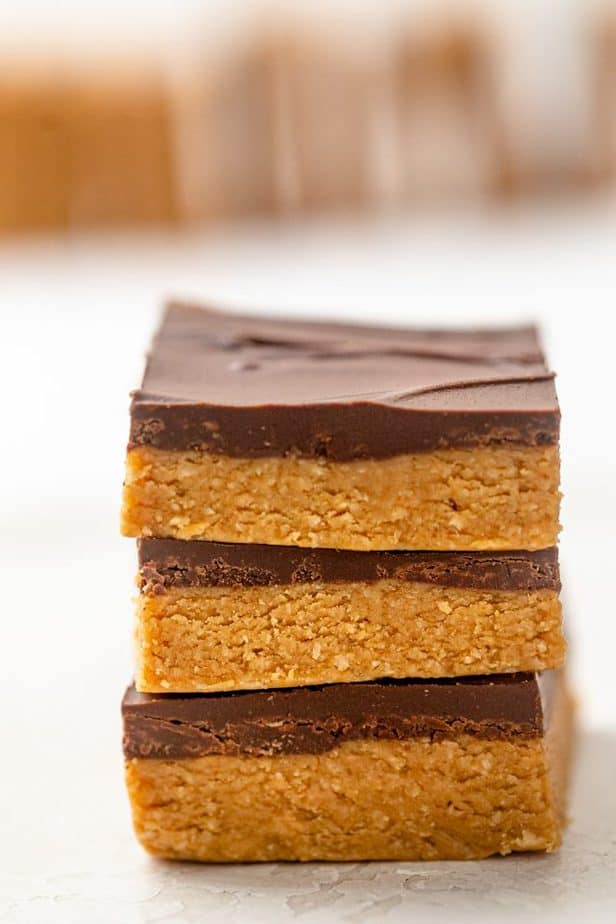
Chocolate Peanut Butter Bars
Video
Ingredients
For the peanut butter base
- 1 ½ cups creamy peanut butter
- ½ cup maple syrup
- 1 ½ cups oat flour
For the chocolate topping
- 1 ½ cups semi-sweet chocolate chips
- 1/4 cup creamy peanut butter
Instructions
- Line a 9×9 inch square baking pan with aluminum foil or parchment paper. Set aside.
- In a large bowl, place the 1 ½ cups peanut butter and maple syrup and microwave for 30-60 seconds until combined and smooth. Add oat flour and stir until well combined. The mix will be thick. Transfer mixture into the prepared baking pan and press evenly into the pan.
- To make the chocolate topping, melt the chocolate chips and the remaining peanut butter in the microwave or on the stove. Stir until smooth. Spread over peanut butter layer.
- Chill in the refrigerator until completely firm, about 2-3 hours. Allow to sit at room temperature for 10 minutes before cutting. Serve cold.
Notes
- Instead of maple syrup, you can use honey or agave syrup
- Instead of oat flour, you can use almond flour.
- Instead of chocolate chips, you can use a chocolate bar of choice.
Nutrition
Nutrition information provided is an estimate. It will vary based on cooking method and specific ingredients used.
Hi Yumna! This looks like a great recipe and I can’t wait to try it but I have a quick question. I have oat flour in my pantry but I noticed it says not to consume raw. I could try making my own but isn’t oat flour one of the flours that should be safe to eat raw? I’m confused about why they have this warning (I’m from Canada and it’s the Quaker Oats brand of oat flour). Any insight on this? Thank you!
Hi there! It may have something to do with how it is processed. To make it safe to consume raw, you could simply toast it in the oven before using it in the recipe. Preheat the oven to 350˚F, then add the flour to a parchment paper lined rimmed baking sheet. Bake it at 350˚F for 8 to 10 minutes, then let cool before using. Hope this helps!
They come out perfect every time! Love this recipe, as someone who hates added sugars, they are perfectly sweet and delicious!
We love these at our house. Such a healthy treat! So delicious! Thanks for sharing your recipe.
You’re so welcome!
So delicious!! Thank you for sharing this simple recipe!
Thank you! Always happy to share!
Larry my hubby LOVES the bars! I don’t eat sweets but this doesn’t taste over sweet! Delish! Larry said to make them on every holiday 😂
That is amazing! I’m so glad he enjoyed this recipe that much. Yay!!
These are excellent, held together well, not overly sweet, so easy to make.
Thank you so much! That is exactly what I was hoping for!